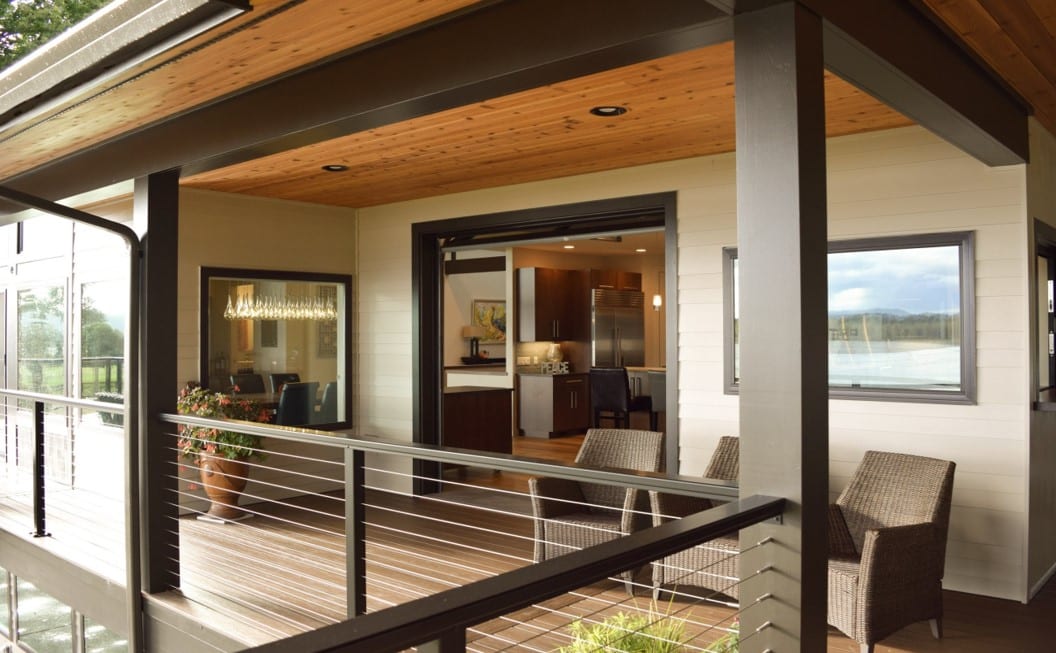
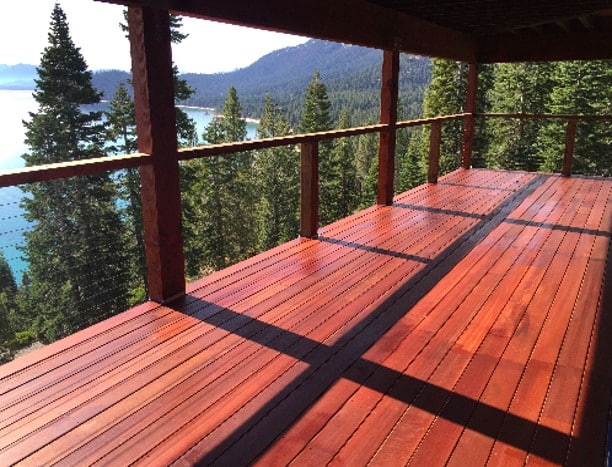
In today’s residential trends, homeowners want more accessible space in their homes and more connection to their natural surroundings. That’s why some DIY projects, like new deck builds, are so popular.
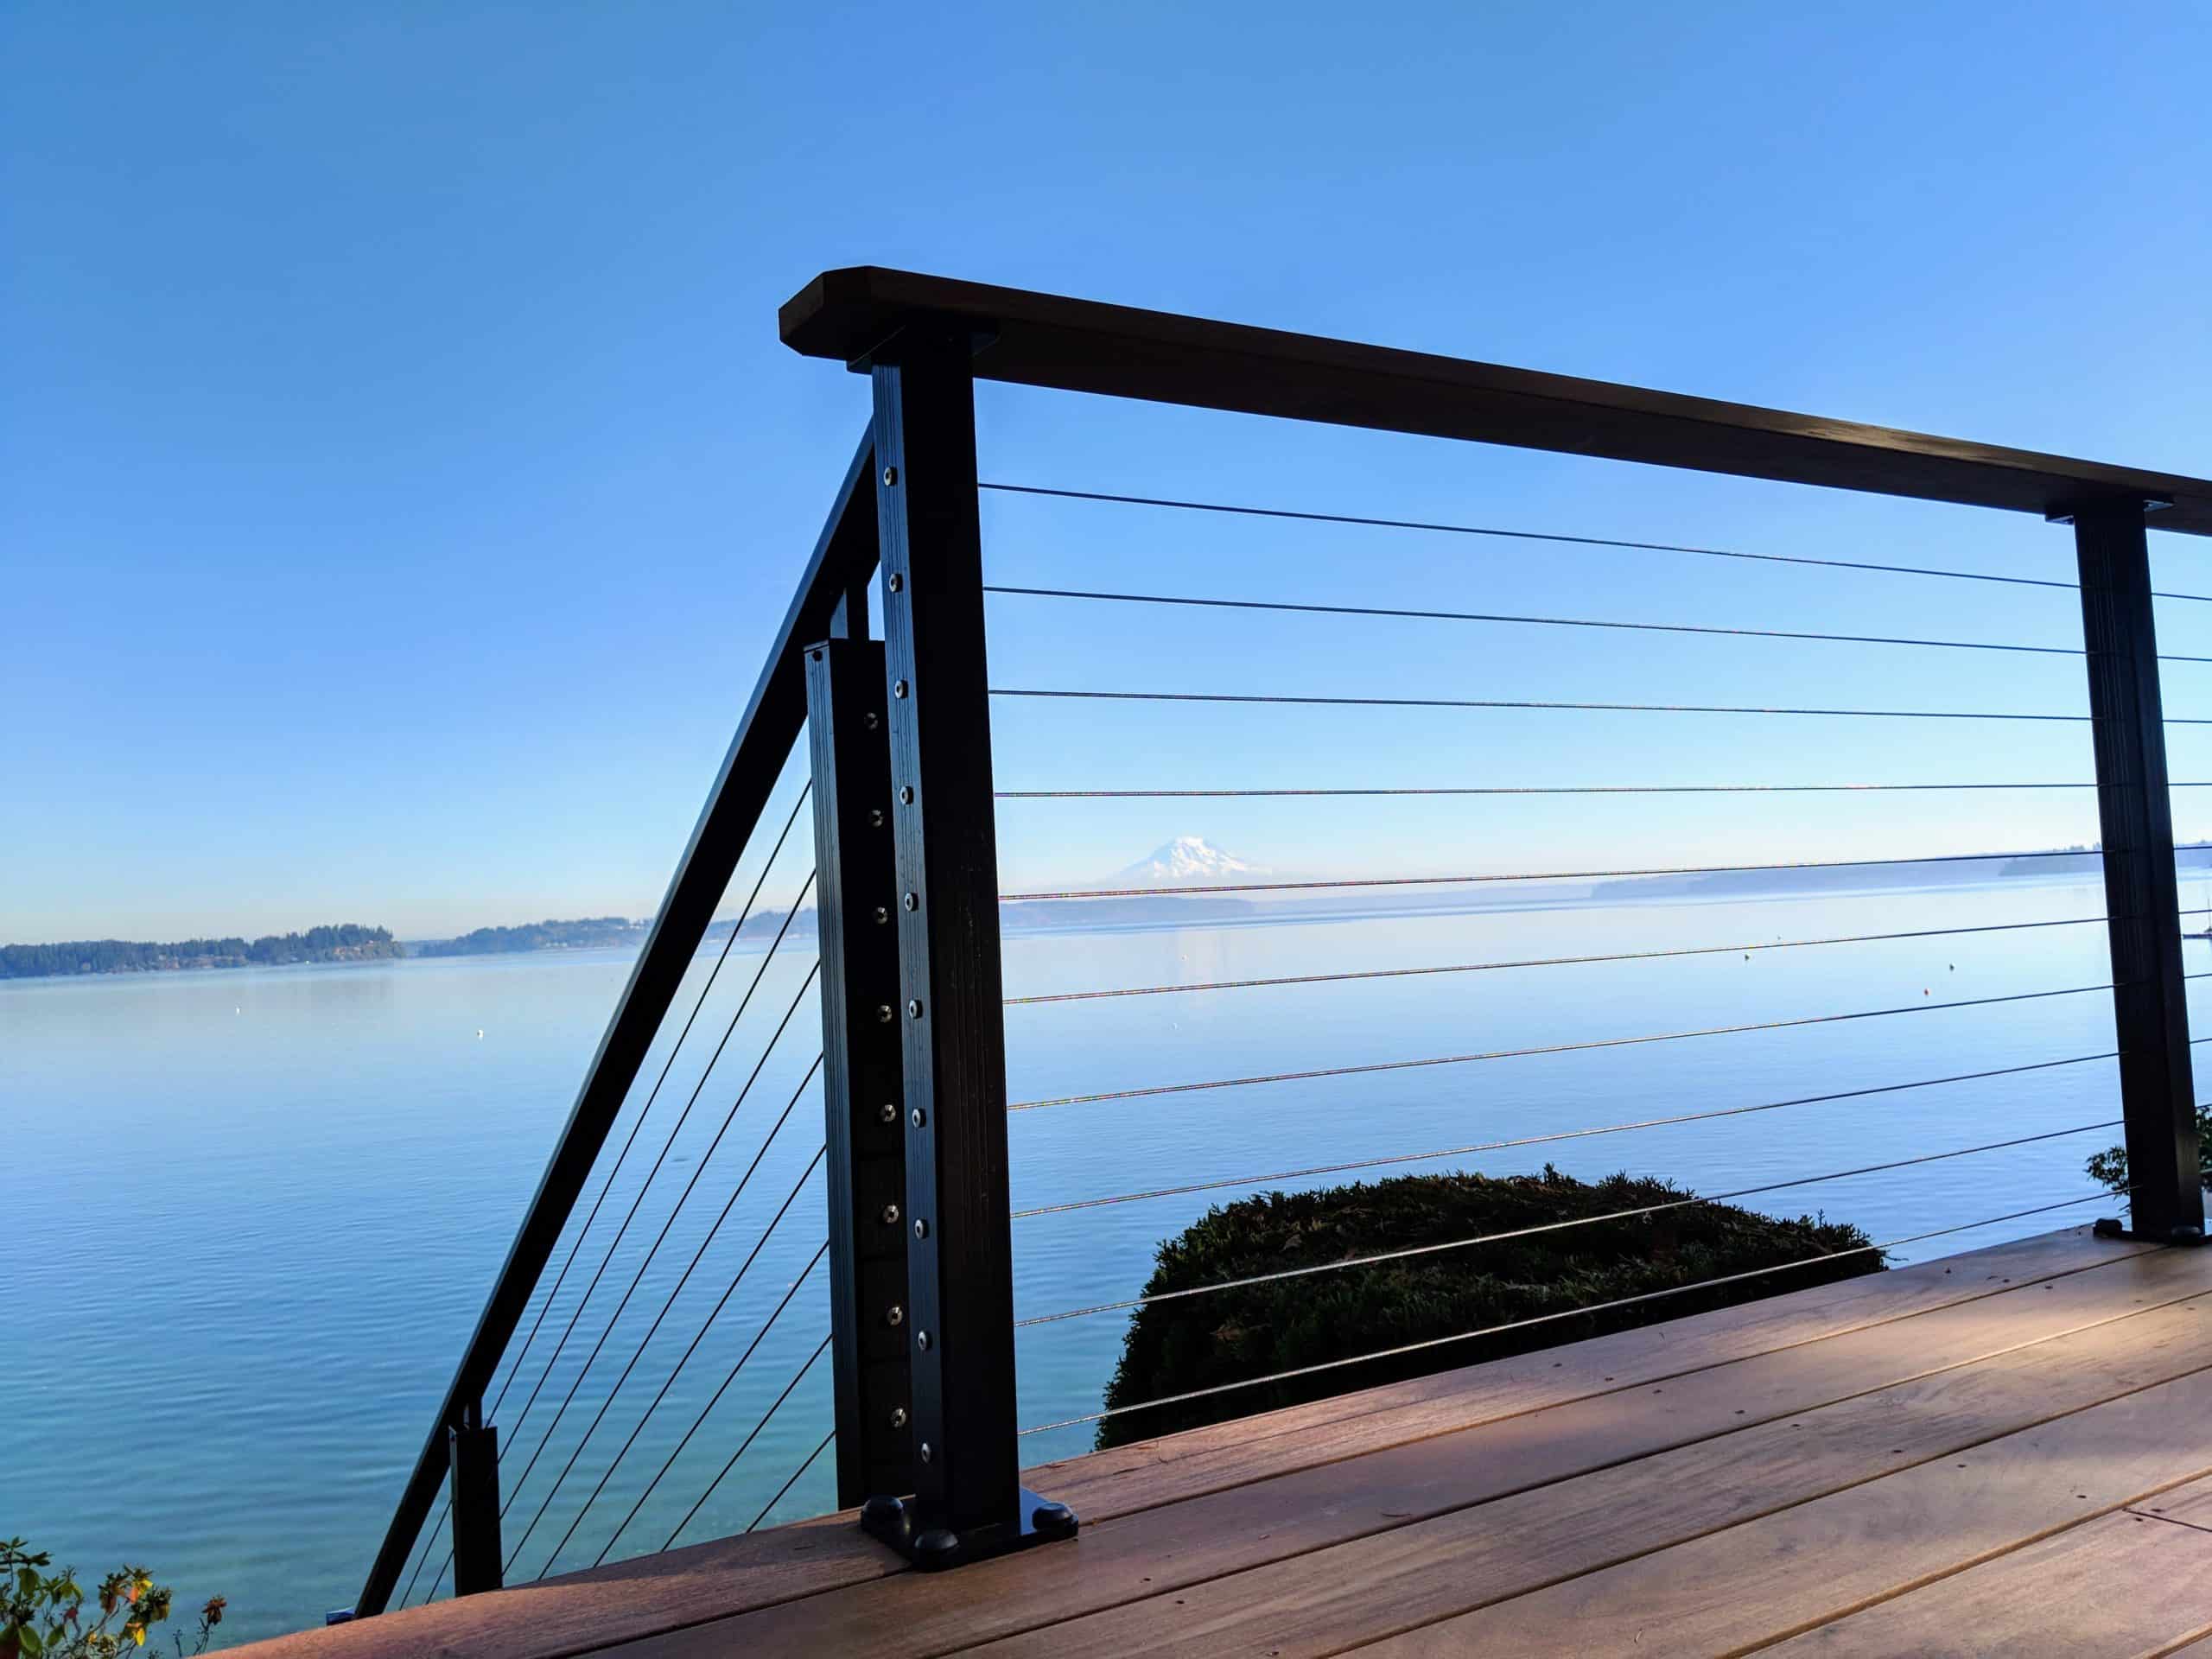
Using a cable railing system gives homeowners the safety they require without sacrificing their view. Although there are many options, some manufacturers provide entire assembly kits for installing cable railing, reducing effort and guesswork; saving both time and mistakes.
However, DIYers and professionals alike run into the problem of taking the cable railing around corners and on stairs. RailFX cable railing systems provide the components necessary to make these transitions easier to install, however questions might arise during your project.
What should I plan for during my cable railing installation? (or “Where should I start?”)
Start by plotting out the railing system, using a bird’s-eye view to draw out the project. You’ll want to plan out:
- All post locations
- Railing lengths
- Railing height
- Post configuration (single or double) at corners
- Locations of stairs and corners
- Post height
- Material (wood, steel, aluminum, composite sleeve)
- Cable diameter (1/8” or 3/16”)
- Composite sleeve diameter (if you’re using composite sleeve)
Are any special tools needed?
The RailFX system was designed to eliminate the need for any special tools for a smoother installation. That’s why you’ll notice features like the pre-drilled posts, making cable threading through posts a much easier step, especially since all cable railing fasteners are included in the kit.
You might also have the following basic tools at the ready:
- Angle Finder
- Cut Off Wheel
- Cable Release Key
- Cordless Impact Drill
- 9/16 Socket with adapter
- Ear Plugs
- Fine File
- Level
- Masking Tape
- Pen/Pencil
- Power Miter Saw with 80 tooth carbide blade
- Razor Knife
- Roto Hammer with concrete drill bit
- String / Laser
- Tape Measurer
- Vice Grips / Cable Gripping Pliers
- #2 Phillips bit
- #2 Square drive bit
What’s the difference between installation on wood and metal posts?
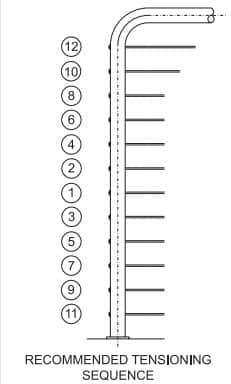
For wood posts, you’ll need to keep the post from bending when the cables are tensioned, so a minimum 4×4 (3½”-square) post is required. The top rail should be reinforced with support, like a 2×4. Note the end posts should be checked and securely mounted to the deck before the cables are tensioned. A bottom rail can also help to distribute tensioning force away from the bottom of the post, but it isn’t required.
RailFX offers kits that are designed for aluminum posts with 1½ x 1½ inch square and 2 x 2 inch square tubing (note the posts are not included in the kit). End posts should be a minimum 1/4” thick wall to handle the load when the cables are tensioned; intermediates can be 1/8”. A top rail is essential for the system’s structural integrity. For aluminum, your end posts should be reinforced. And depending on your design aesthetic, you might want to consider a bottom rail for an added touch.
What should I know about the post configurations, especially at transitions like corners or stairs?
You’re provided with pre-drilled posts when you order the RailFX cable railing system. If you’re using existing posts, installers will need to drill holes as indicated by the installation instructions. The size of the holes will vary depending on the fitting or cable size. Another factor is if the fittings will terminate or if the cable will be threaded through the corner post for cable run continuation. For other posts in the system, the holes may only need to be one size. Unlike some competitors’ railing systems, which ask you to drill as many as 4 to 5 holes sizes in a particular post, RailFX drills the necessary hole in the post for you. However, be sure to verify the number of different hole sizes needed for the kit you purchase.
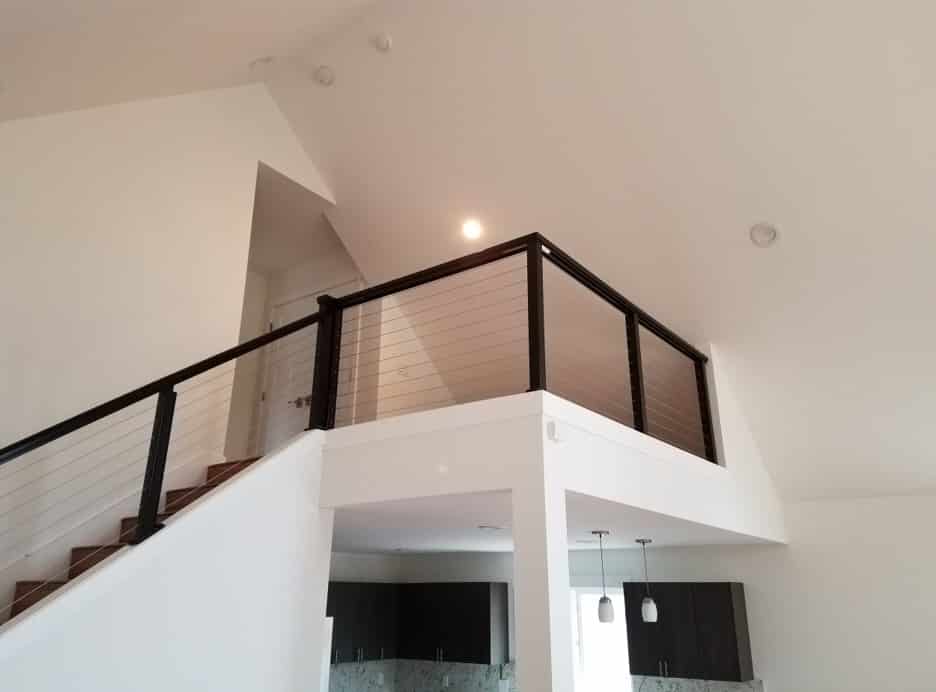
When deciding the post configuration for corners, there are a couple options. Based on your design aesthetics and post material, you can choose to include either one or two posts in the corner. If you are using 4” x 4” wood posts, one post in the corner is sufficient. The RailFX aluminum system provides the option to utilize one or two posts in a corner.
Cable transitions for stairs may seem complicated however RailFX makes it easy by breaking it down step-by-step in their installation instructions. If the project calls for wood posts, it’s recommended to purchase the optional Post Protector Tubes. These will prevent the cable from slicing the wood when threading it through and exiting the post on an angle.

Is cable railing easy to maintain?
Your cable railing might accumulate pollen or some oxidation at the surface, and natural weathering is normal. The RailFX system is popular because it’s low maintenance, needing only an occasional cleaning with a simple soap and water solution.
Does the cable railing system come with a warranty?
The RailFX system, cable and fittings are all covered by a 10-year warranty.
How much can I expect to pay for the RailFX cable railing system?
Contractors, architects and DIYers alike appreciate the quick turn-around time on quotes the RailFX service team provides so you can plan your project’s budget easily. No one wants to wait weeks to hear back on a quote, RailFX customers can complete a quote for their project and expect to hear back within 48 hours.
Choosing the Best Cable Railing System for Your Design
By choosing a cable railing system from RailFX, installers are guaranteed a smoother project. And with a 2 week lead time from order to delivery, plus durable packaging for shipment, you can help to ensure your job gets done correctly and on schedule.
Have questions about your next installation? Contact us here.