FOLLOW US

Enhancing or renovating a space always comes with challenges. New projects involve precise planning, from measuring the space to buying new materials, all while staying within budget. Even a single complication can make upgrades more complex, often leading DIYers to consider alternative options. Retrofitting a space provides an easier alternative to a complete renovation. 

The RailFX Express Mount Bracket™ system makes the process easy. It provides convenience and quality and is cost-effective for upgrading any space.  

Cable Railing Made Easy

RailFX provides a range of cable railing kits and solutions designed to enhance any space while opening up the view. Unlike some systems that require extra materials and resizing, the RailFX Express Mount Bracket™ eliminates hassle. This cable railing kit ensures construction-grade quality and safety, allowing you to enjoy the upgraded view from your deck with ease. 

Before installing a new railing system on your deck, you should review a couple of items.  

Inspect Existing Posts

Express Mount Brackets mount to the outside of each deck post, delivering a unique “floating cable” appearance.

Reusing existing posts effectively saves on costs and maintains a familiar look for your deck. However, before installing the RailFX Express Mount Bracket™, inspect posts to ensure they’re in excellent condition. Any cracks or damage could lead to structural issues down the road. 

Additionally, it is essential to verify that all posts can withstand at least 200 lbs. of tension from the cable. Building code requires that amount of tension and must be maintained year-round. If any posts cannot meet these standards, it is highly recommended that they be blocked or replaced before installing any cable railing system. 

RailFX® Project Planning Tool

After inspecting your deck and confirming it’s ready for an upgrade, the RailFX team stands by to aid in planning. With the RailFX Express Mount Bracket® Project Planning Tool, you can remove guesswork when purchasing materials. You’ll receive a customized purchase list of everything needed to complete your project by answering four simple questions about your layout and railing height. 

Now, with a detailed plan and fully functional posts, it’s time to begin installing the RailFX Express Mount Bracket™. After just one afternoon, you’ll experience a completely new, safe, and fully functional outdoor oasis! 

Expanded Views in an Afternoon with RailFX®

The RailFX Express Mount Bracket™ system is easy for DIYers. You can finish the whole project in one afternoon with just a little planning. Once you’re equipped with the tools and materials to bring this cable railing system to reality on your deck, you can start a hassle-free project. 

Attaching the Universal Drilling Template

The installation begins by measuring the height of the deck’s railing and adjusting the universal drilling template to match, if necessary. 

Next, clamp the template to each end post about ½ inches back from the center of the post. The offset will help keep the hardware hidden and maintain a clean look. It’s important to note that when using the clamp, position it so it angles toward the inside of the deck to ensure safety and simplicity.  

Installing Brackets

When installing, the bracket center must align precisely with the post center. To do so, measure over 1-¾ inches from one side. Once everything is aligned, begin screwing in each bracket one screw at a time, allowing minor adjustments before final tightening. 

Threading the Cable

The cable is threaded through the end and corner posts to finish the installation, and the tensioning process begins. Start at the center of the run and work outward in alternating up-and-down steps to ensure even tension across all cables. RailFX provides an abrasive grinder wheel for cutting cable ends for a precise and even cut.  

Staircase Application

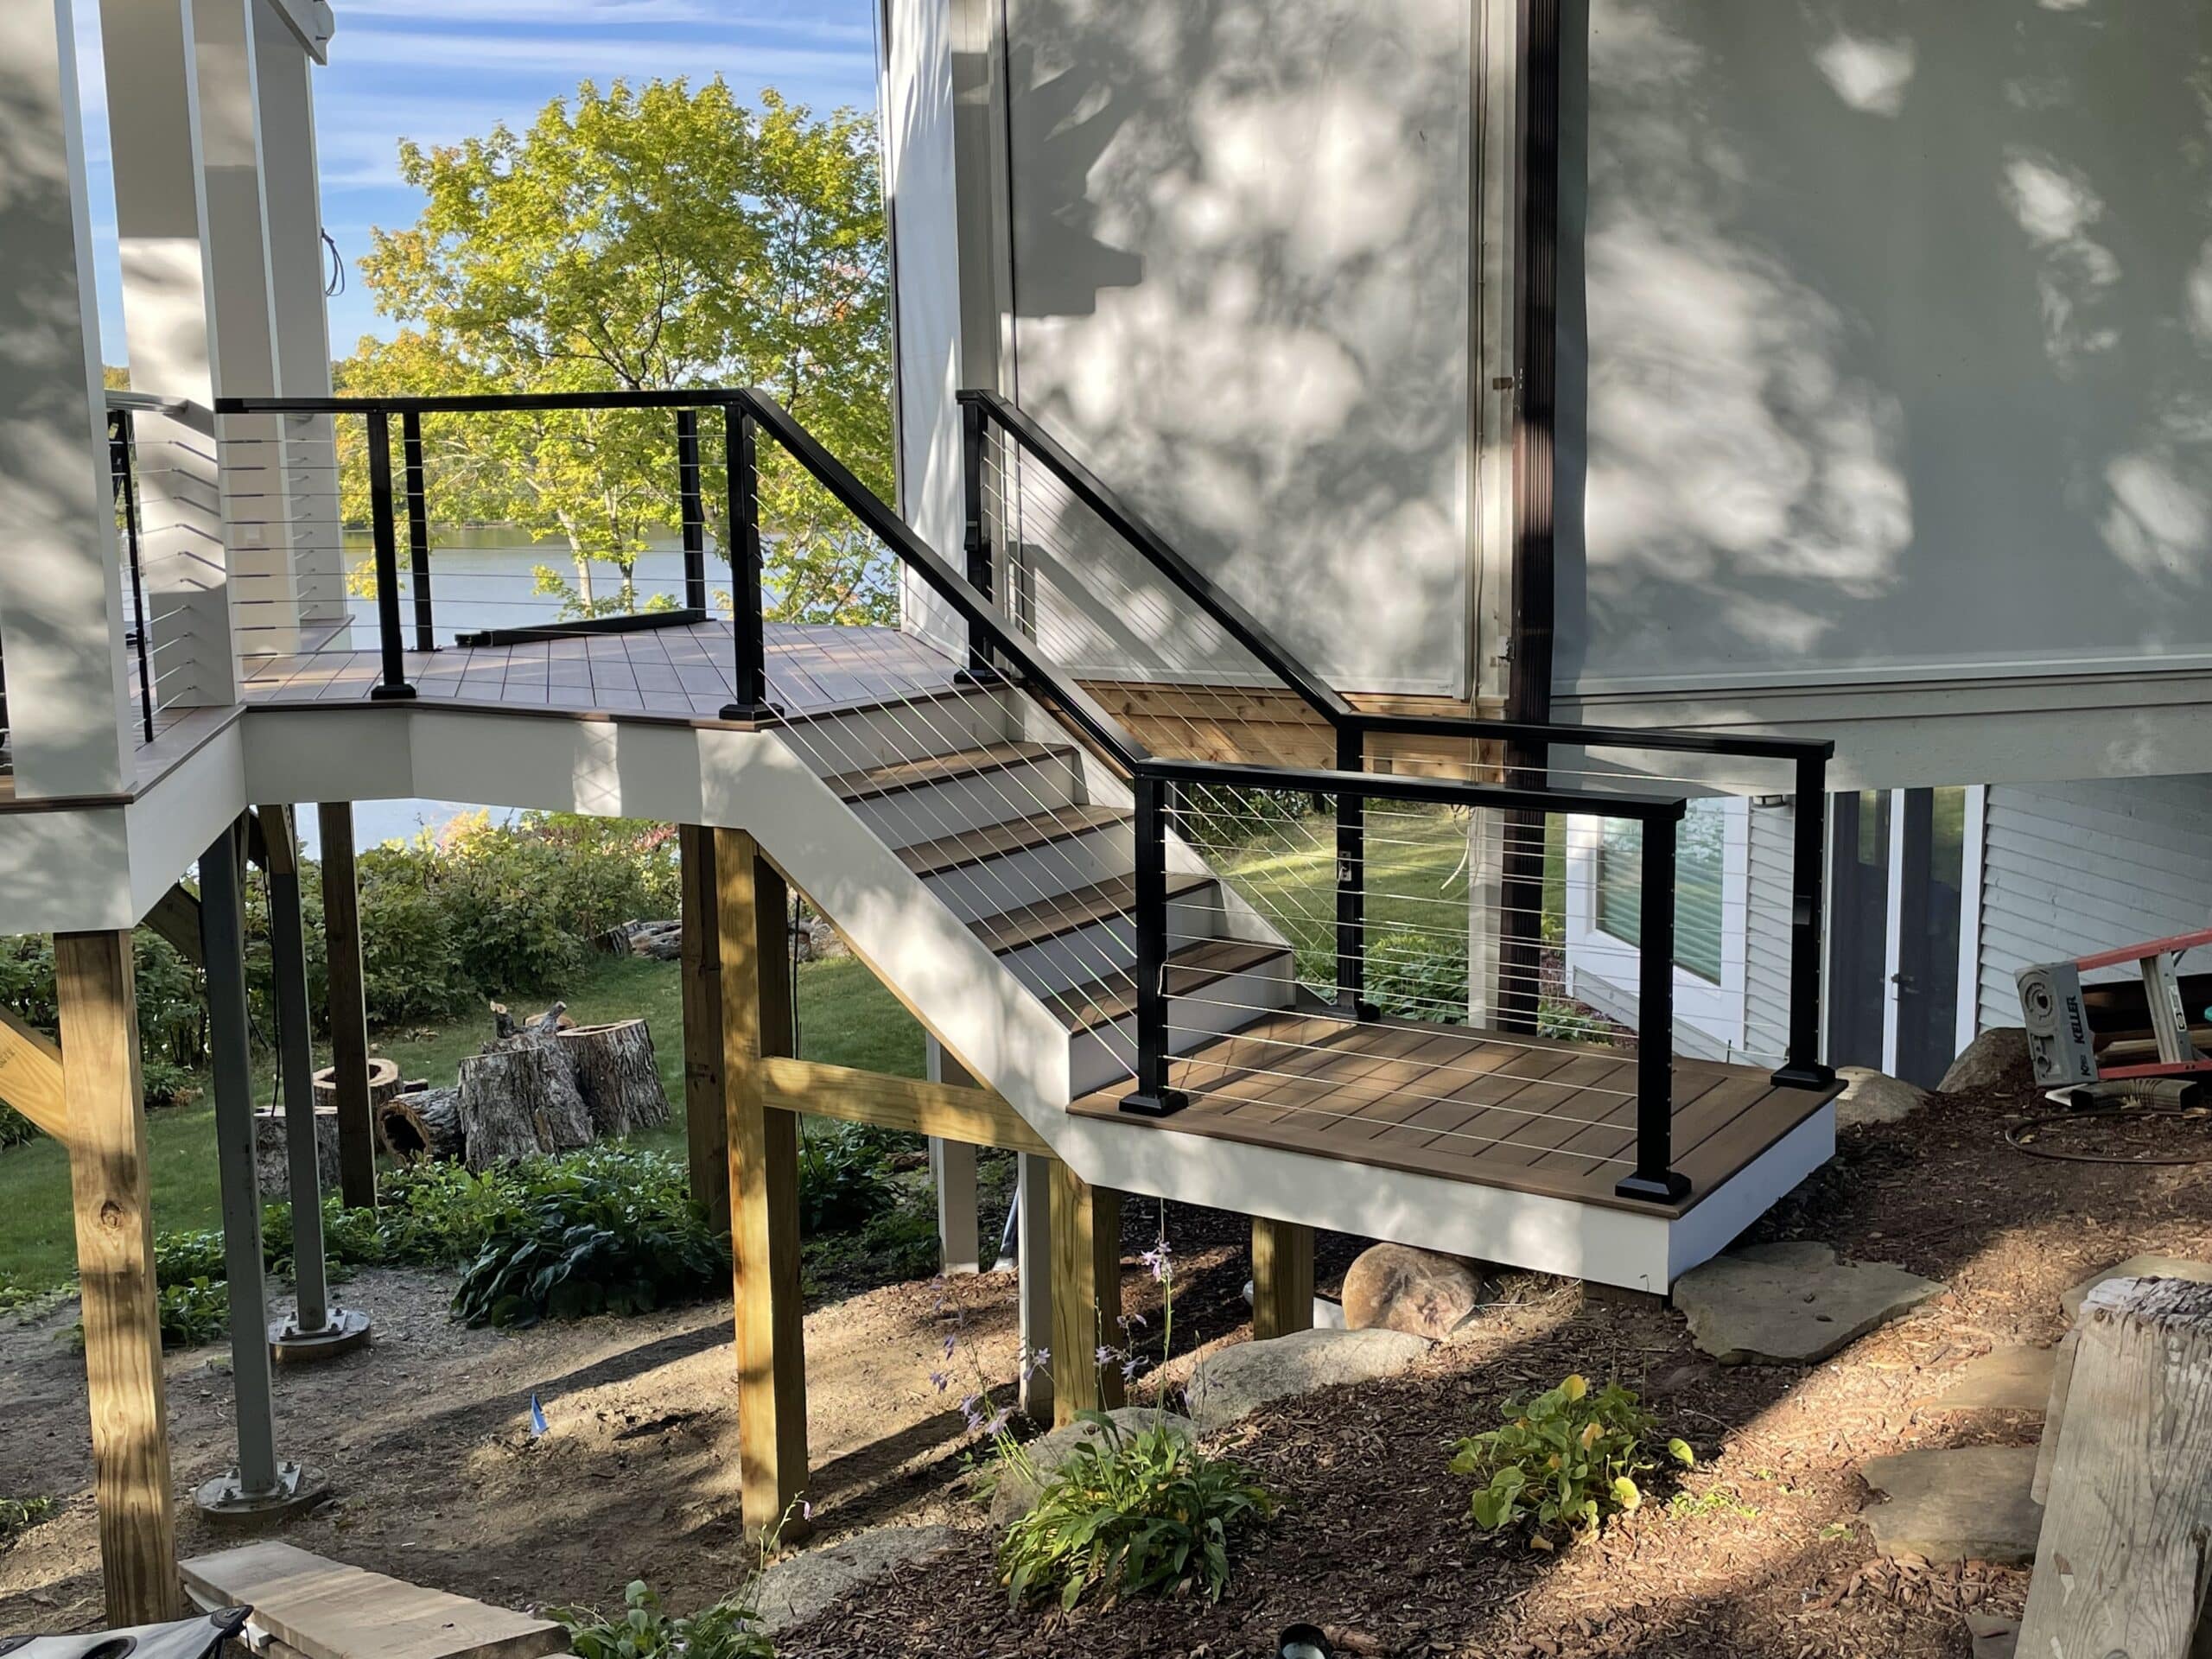
Brackets must be rotated so cable can pass through at an angle on stair applications. Measure the stair angle and use it to align the brackets accurately. 

The final product is a polished, robust railing that enhances the deck’s appearance and safety. It delivers a high-quality cable railing solution designed for long-lasting performance and style. 

Where To Buy RailFX Express Mount Bracket

Retrofitting an existing railing with RailFX® is a straightforward, efficient, and stylish upgrade for any deck. You can quickly transform your outdoor space by following this step-by-step guide. Using the RailFX Express Mount Bracket™ and our Project Planning Tool and reusing existing posts to save time and cost while creating a safe, open view. In just one afternoon, you’ll have a refreshed, open deck view framed by a sleek, long-lasting railing that enhances your space’s safety and style. 

Click here to find your nearest RailFX® dealer and enhance your views today! 

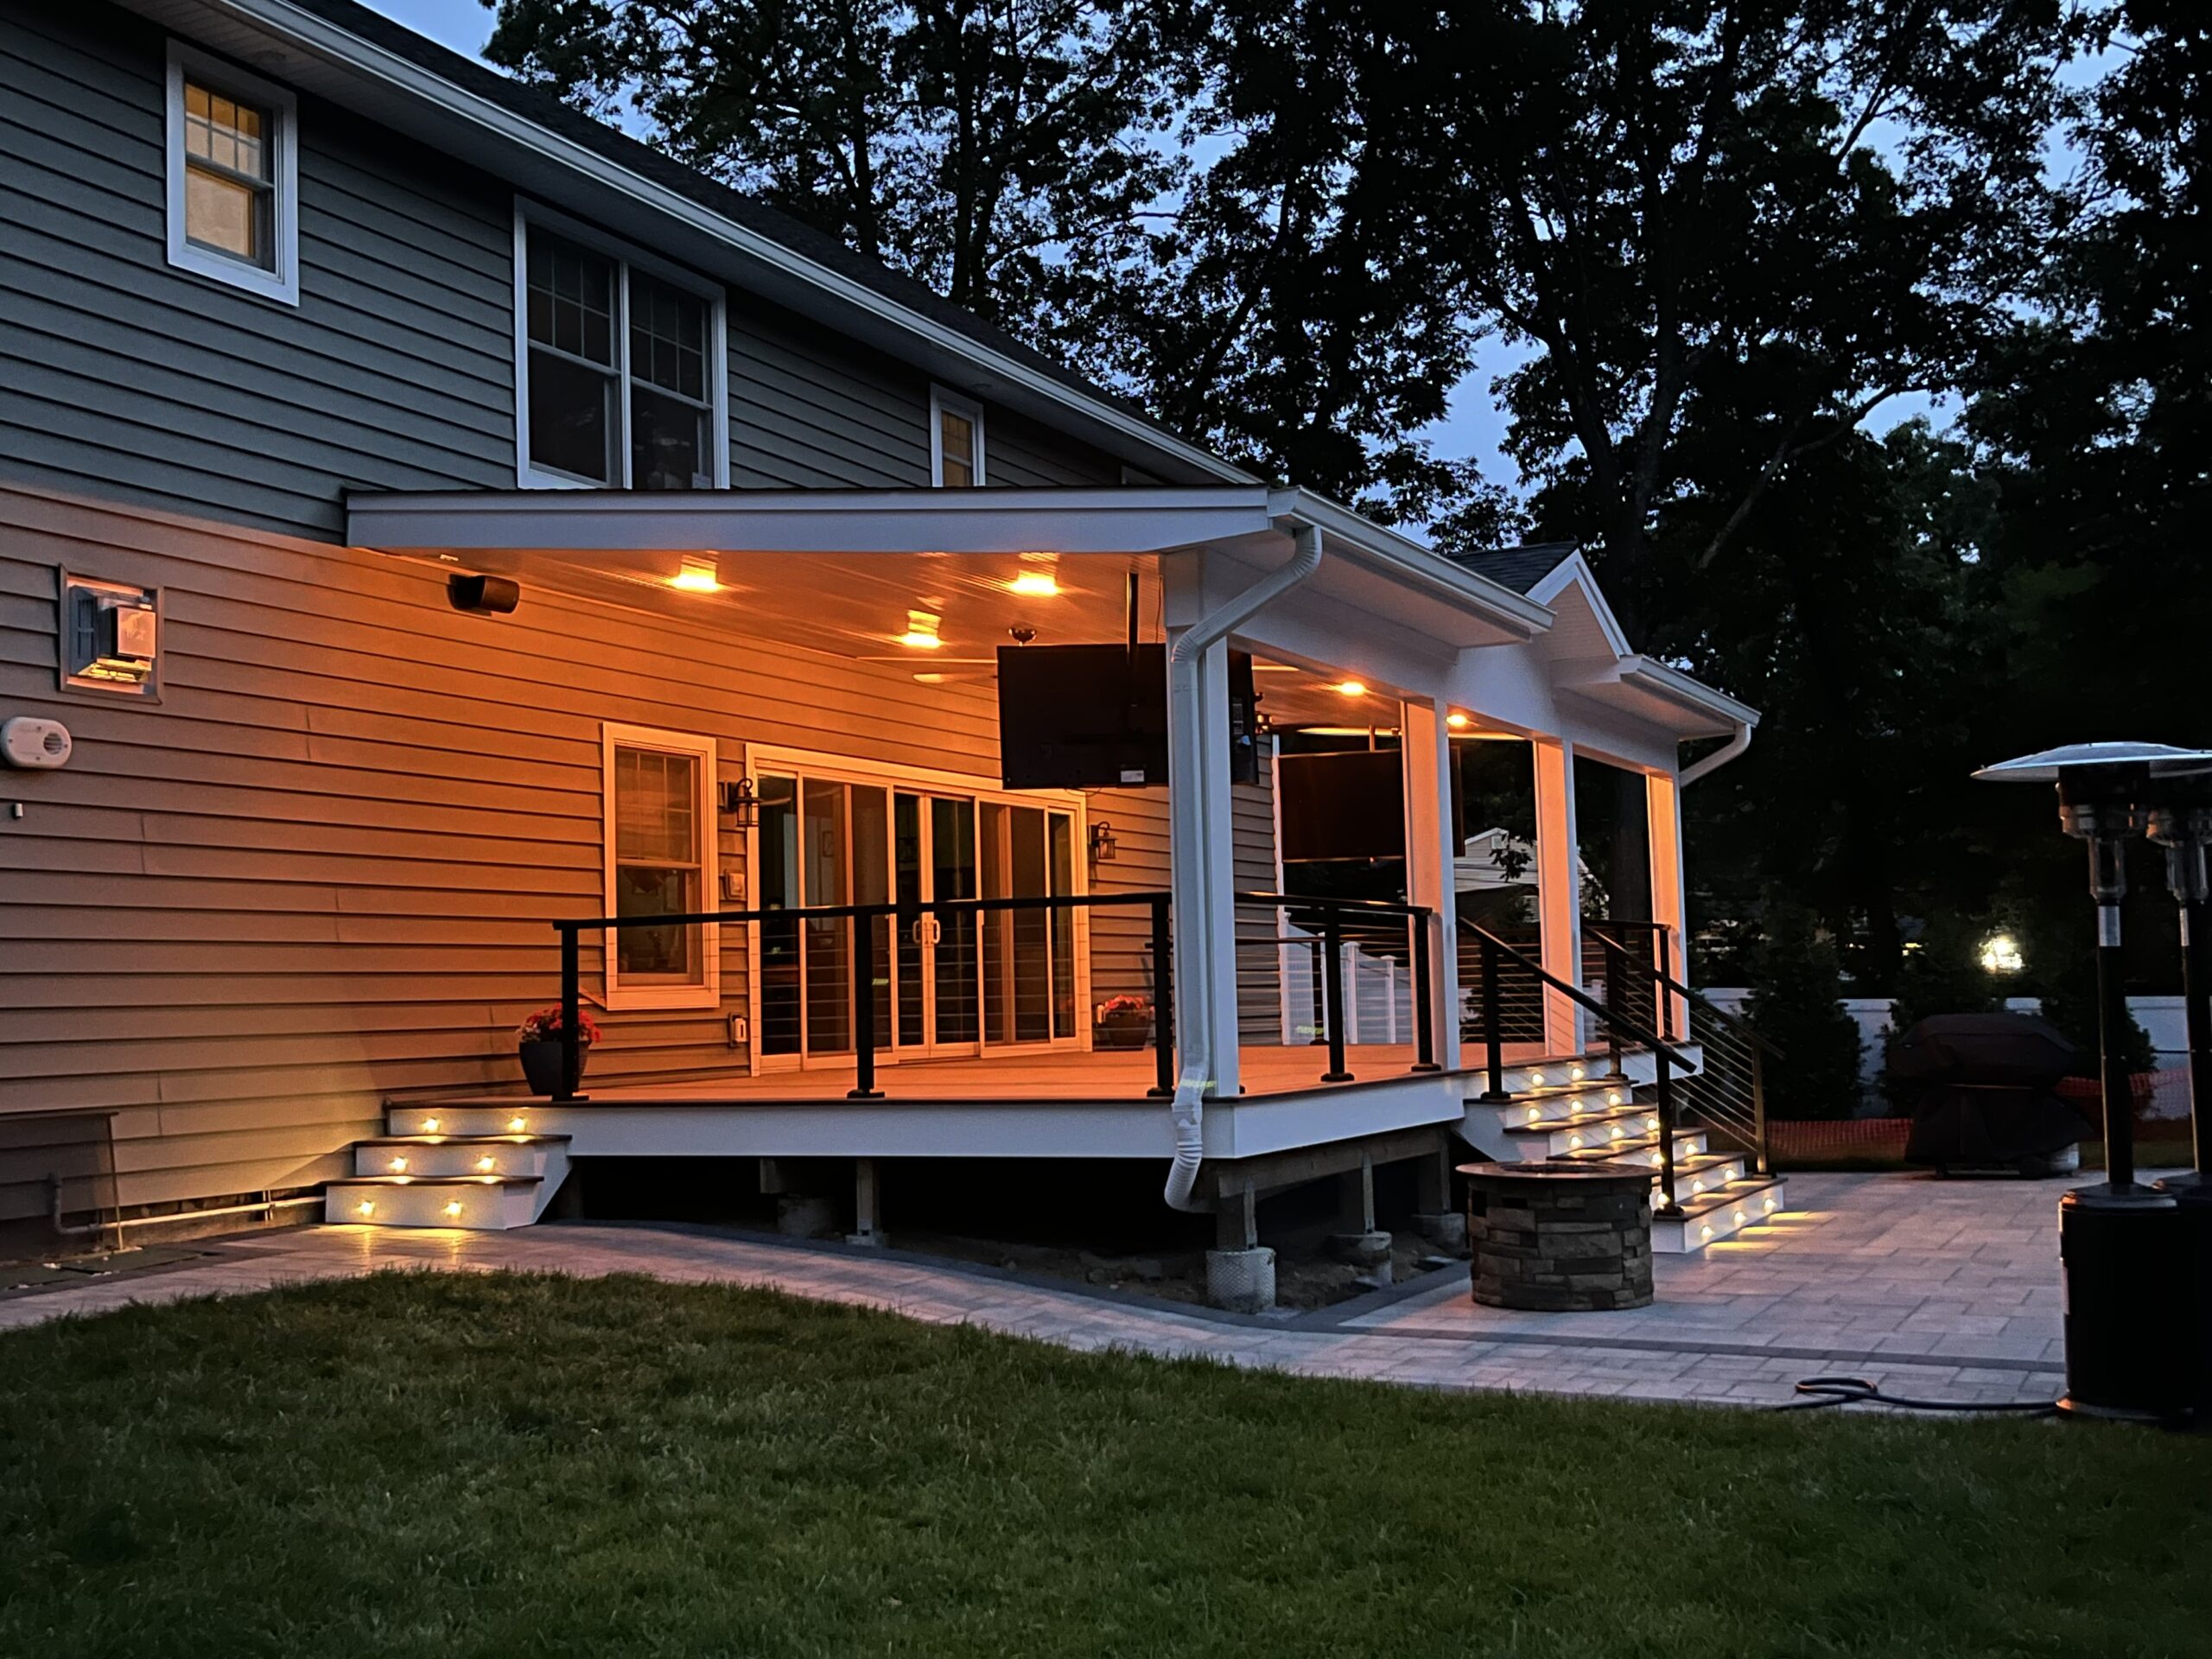
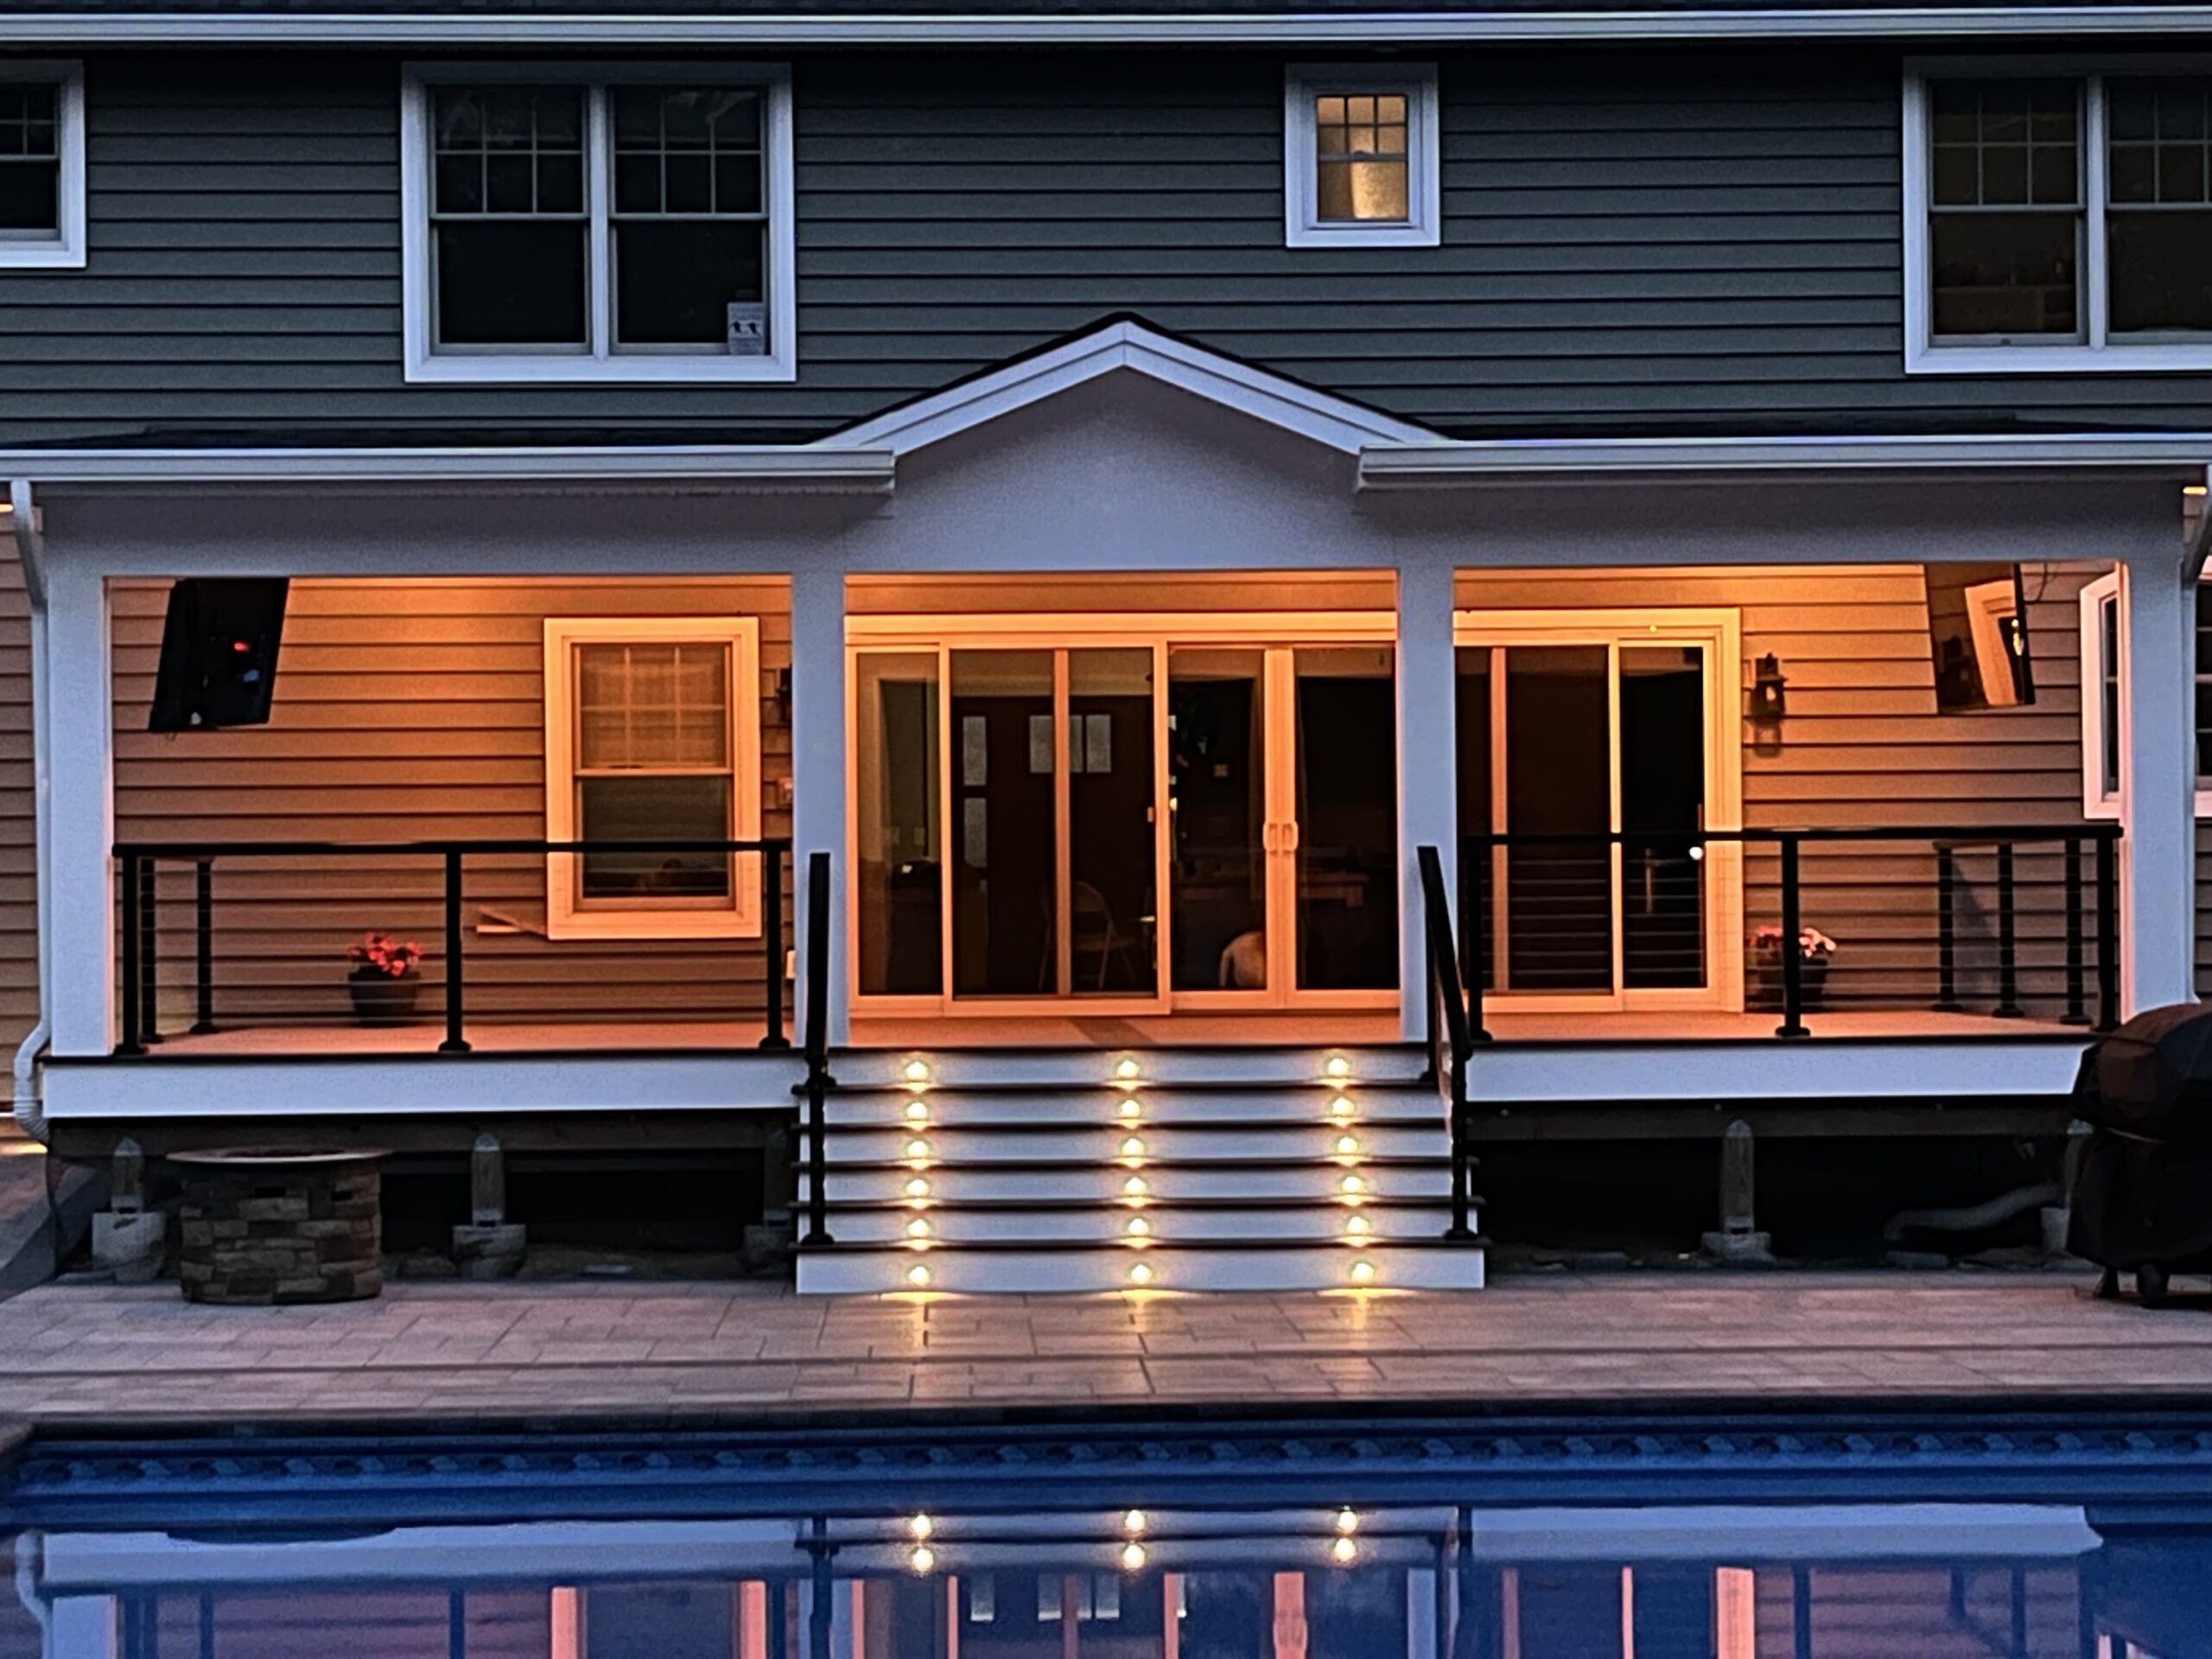
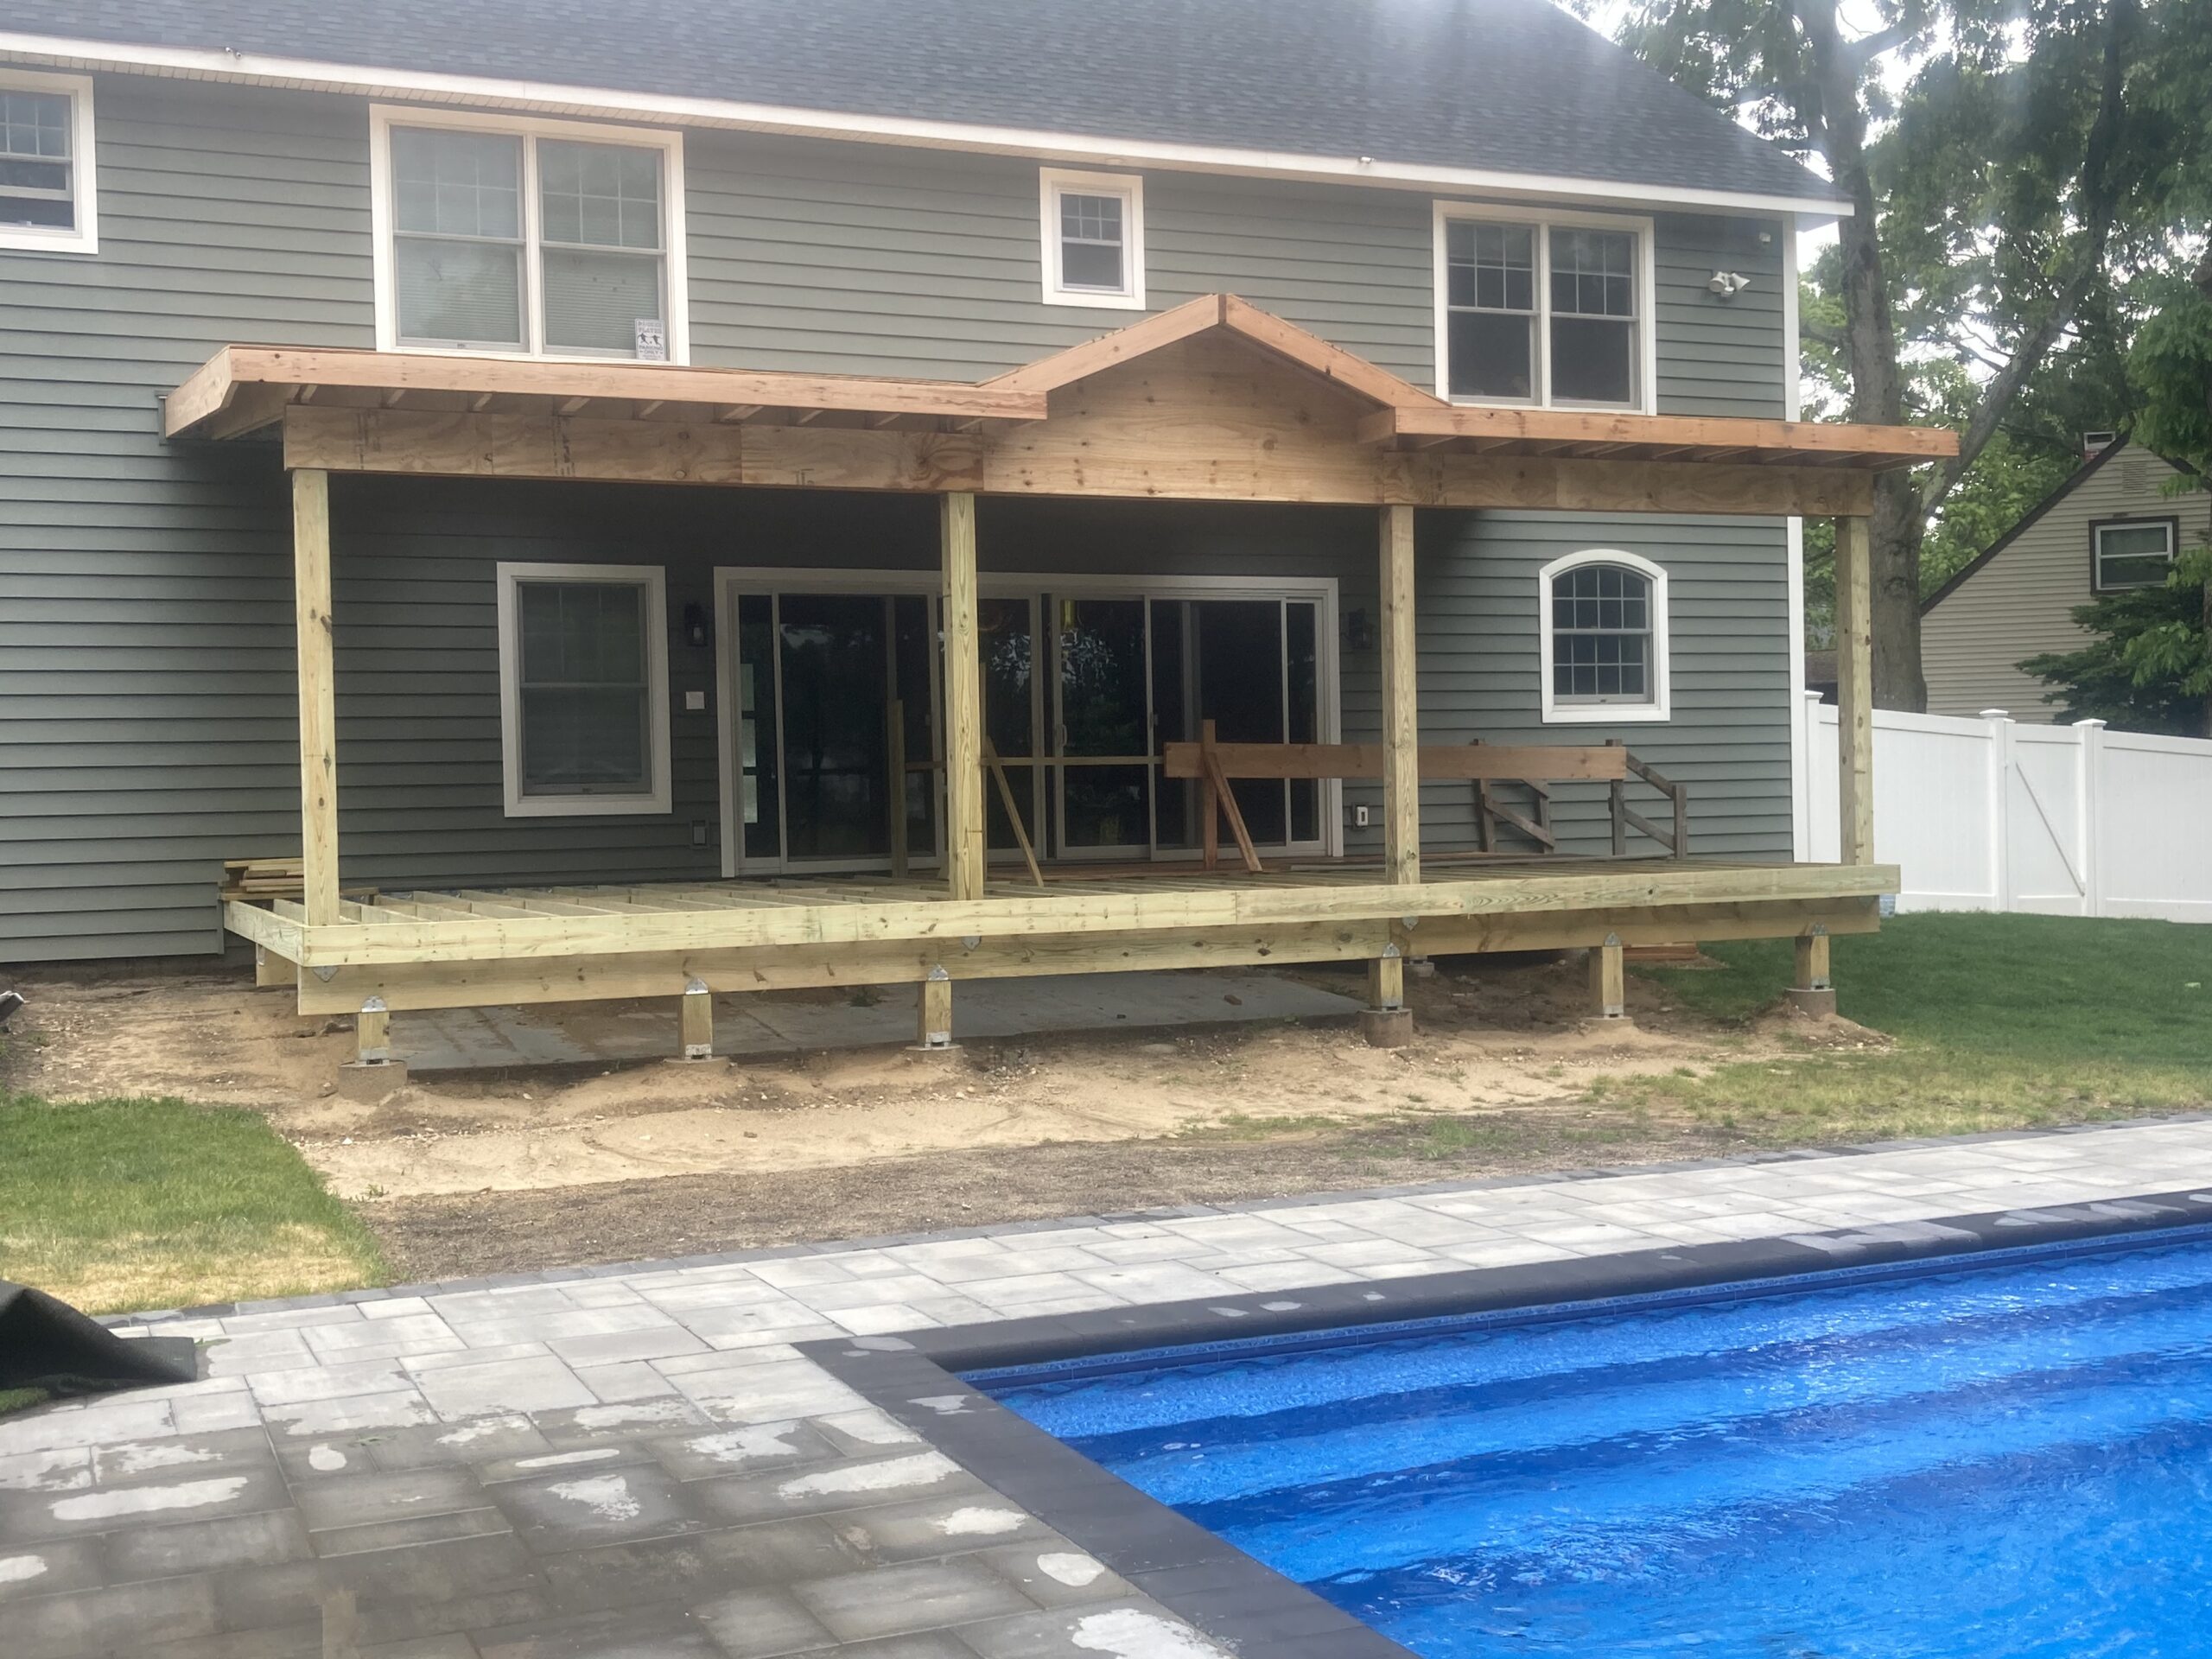
New construction deck with RailFX Express Mount Bracket™

Project Name: Millie’s Remodel

Installer: Brittany Bailey, aka Pretty Handy Girl

Products Installed: RailFX Express Mount Bracket™

When licensed general contractor Brittany Bailey, aka Pretty Handy Girl, decided to take on a new remodeling project, a quaint 1950s brick ranch-style home caught her eye. It wasn’t her first choice since the market was hot in Raleigh, North Carolina, but she saw its potential. Hammer in hand, she started the remodeling process in 2019.

After spending a couple of years working on the home’s interior, there wasn’t much left to do. Her gorgeous upgrades raised the home’s value and infused it with a mid-century modern flavor. Check out a walkthrough of the project on the Pretty Handy Girl YouTube channel.

Once she finished the interior, Bailey turned her attention to the backyard deck. Much like the rest of the home, there was a lot of work to do! 

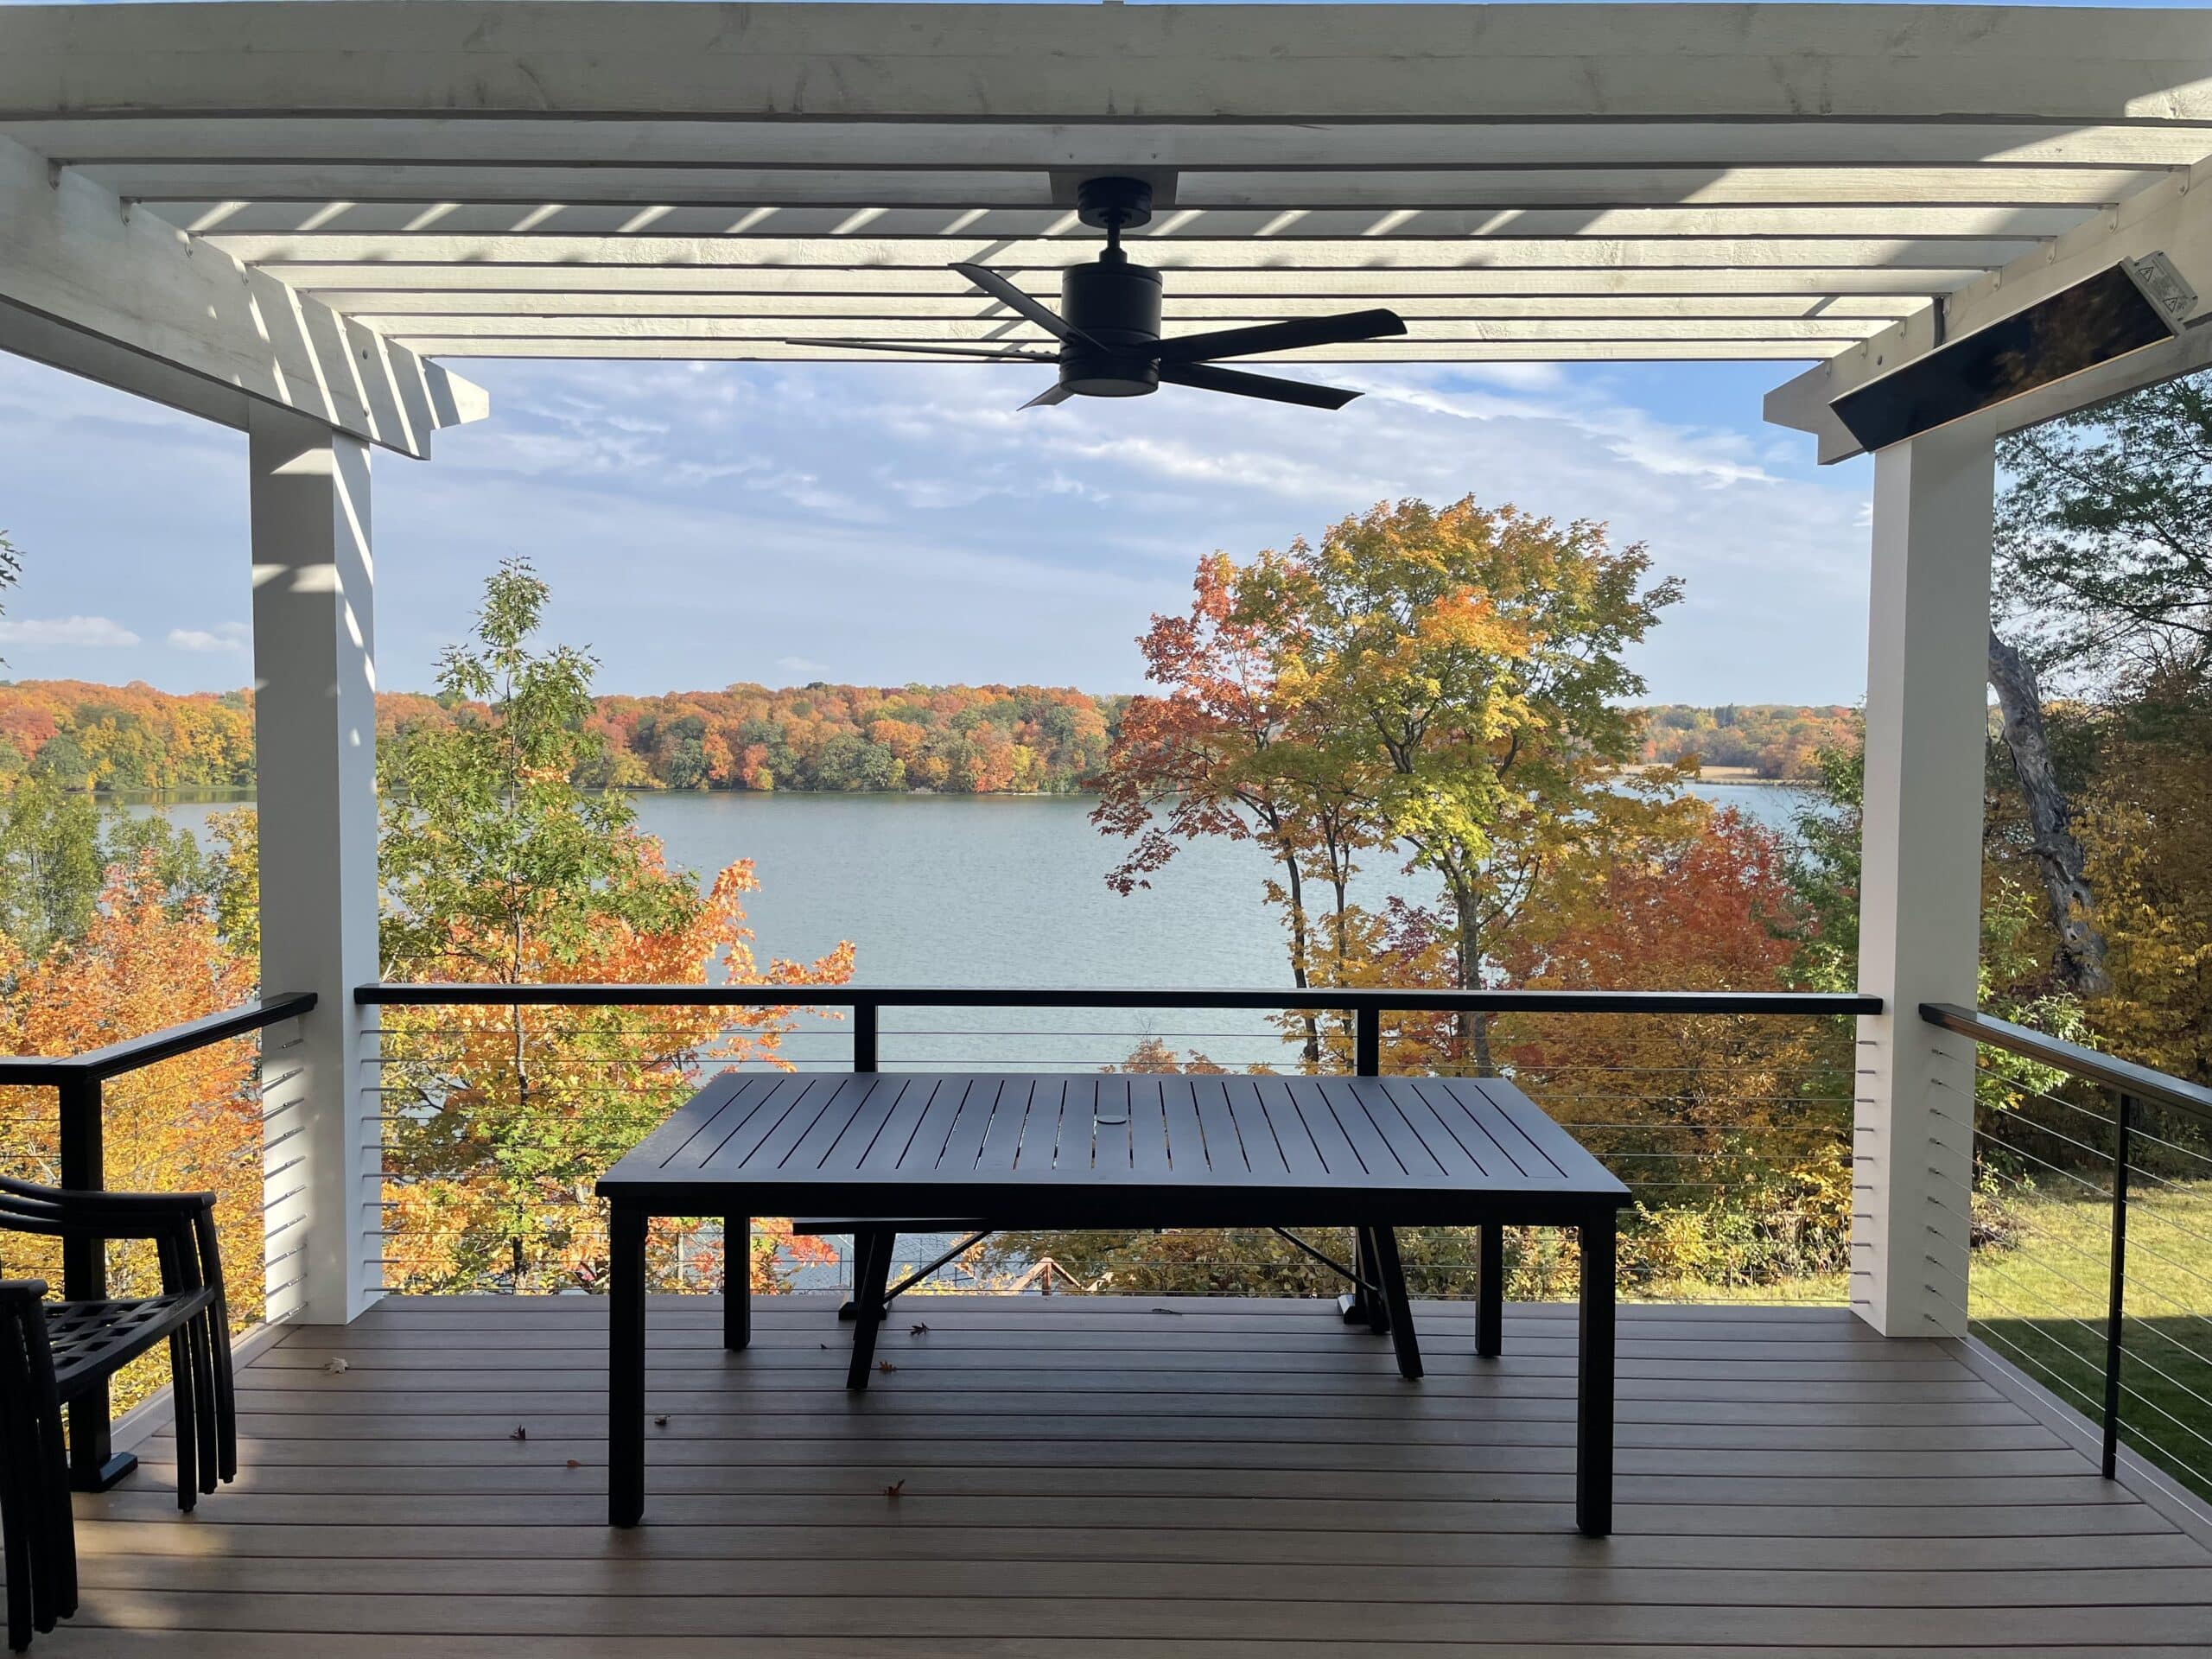
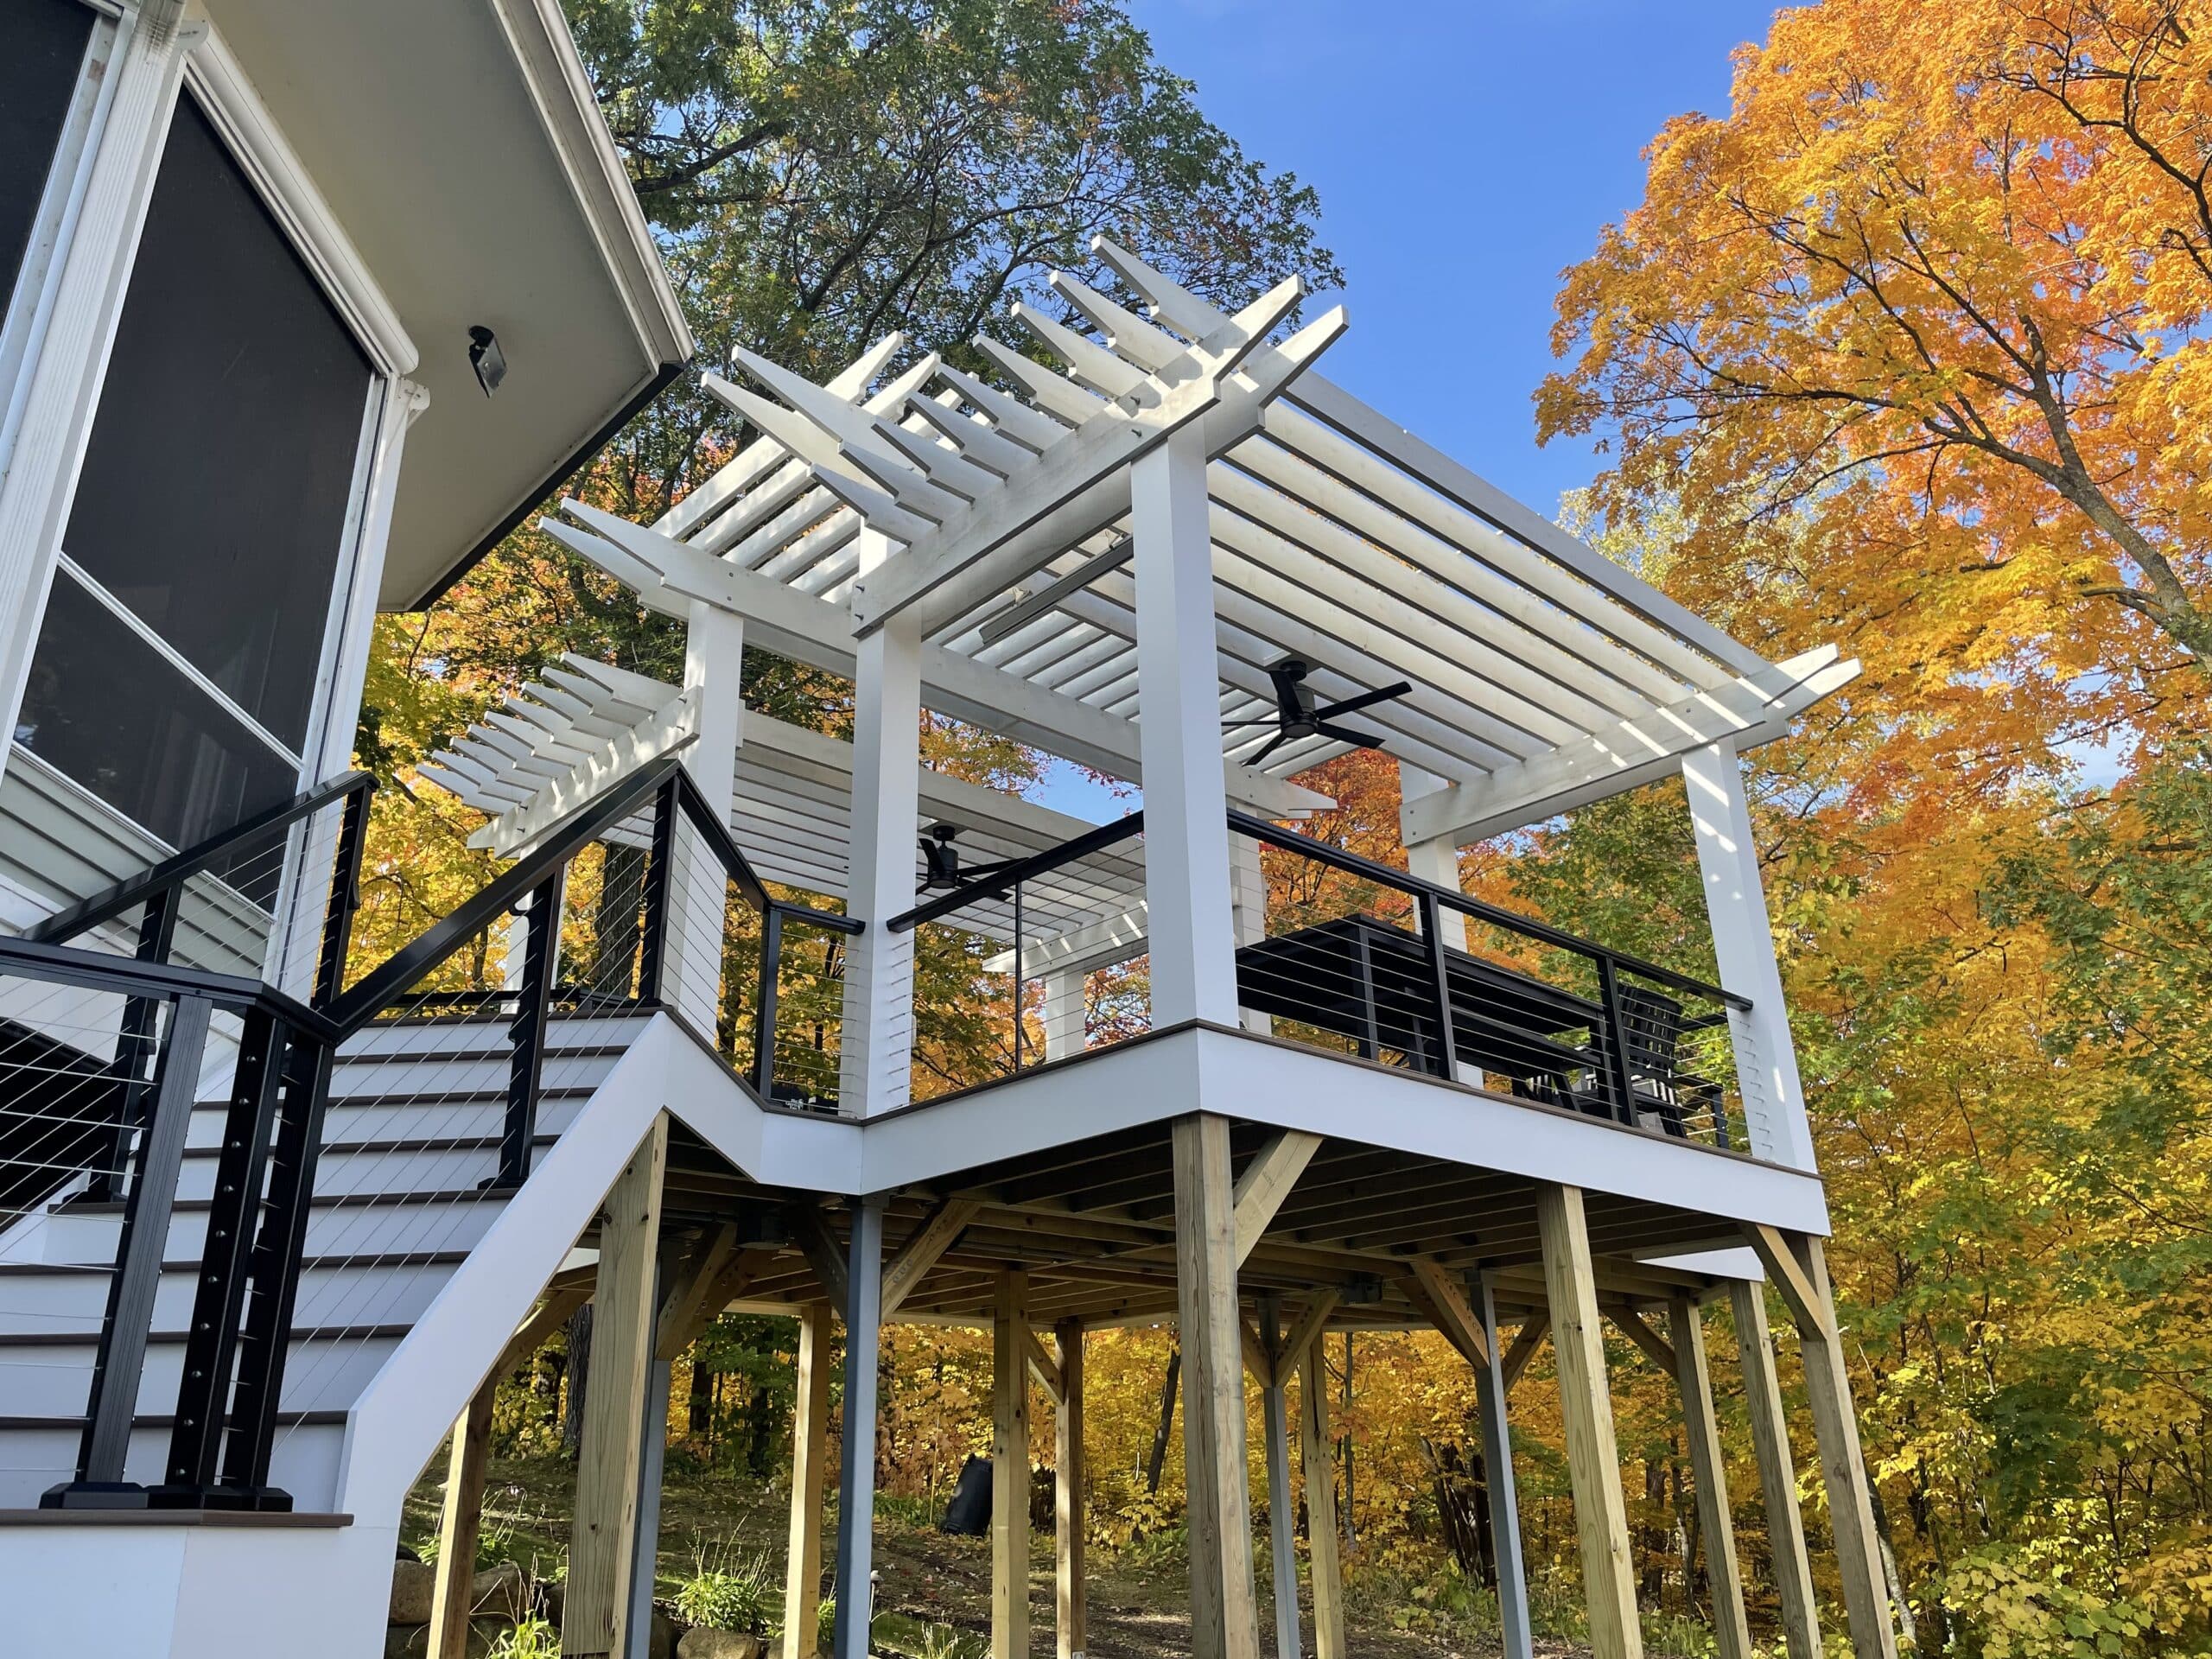
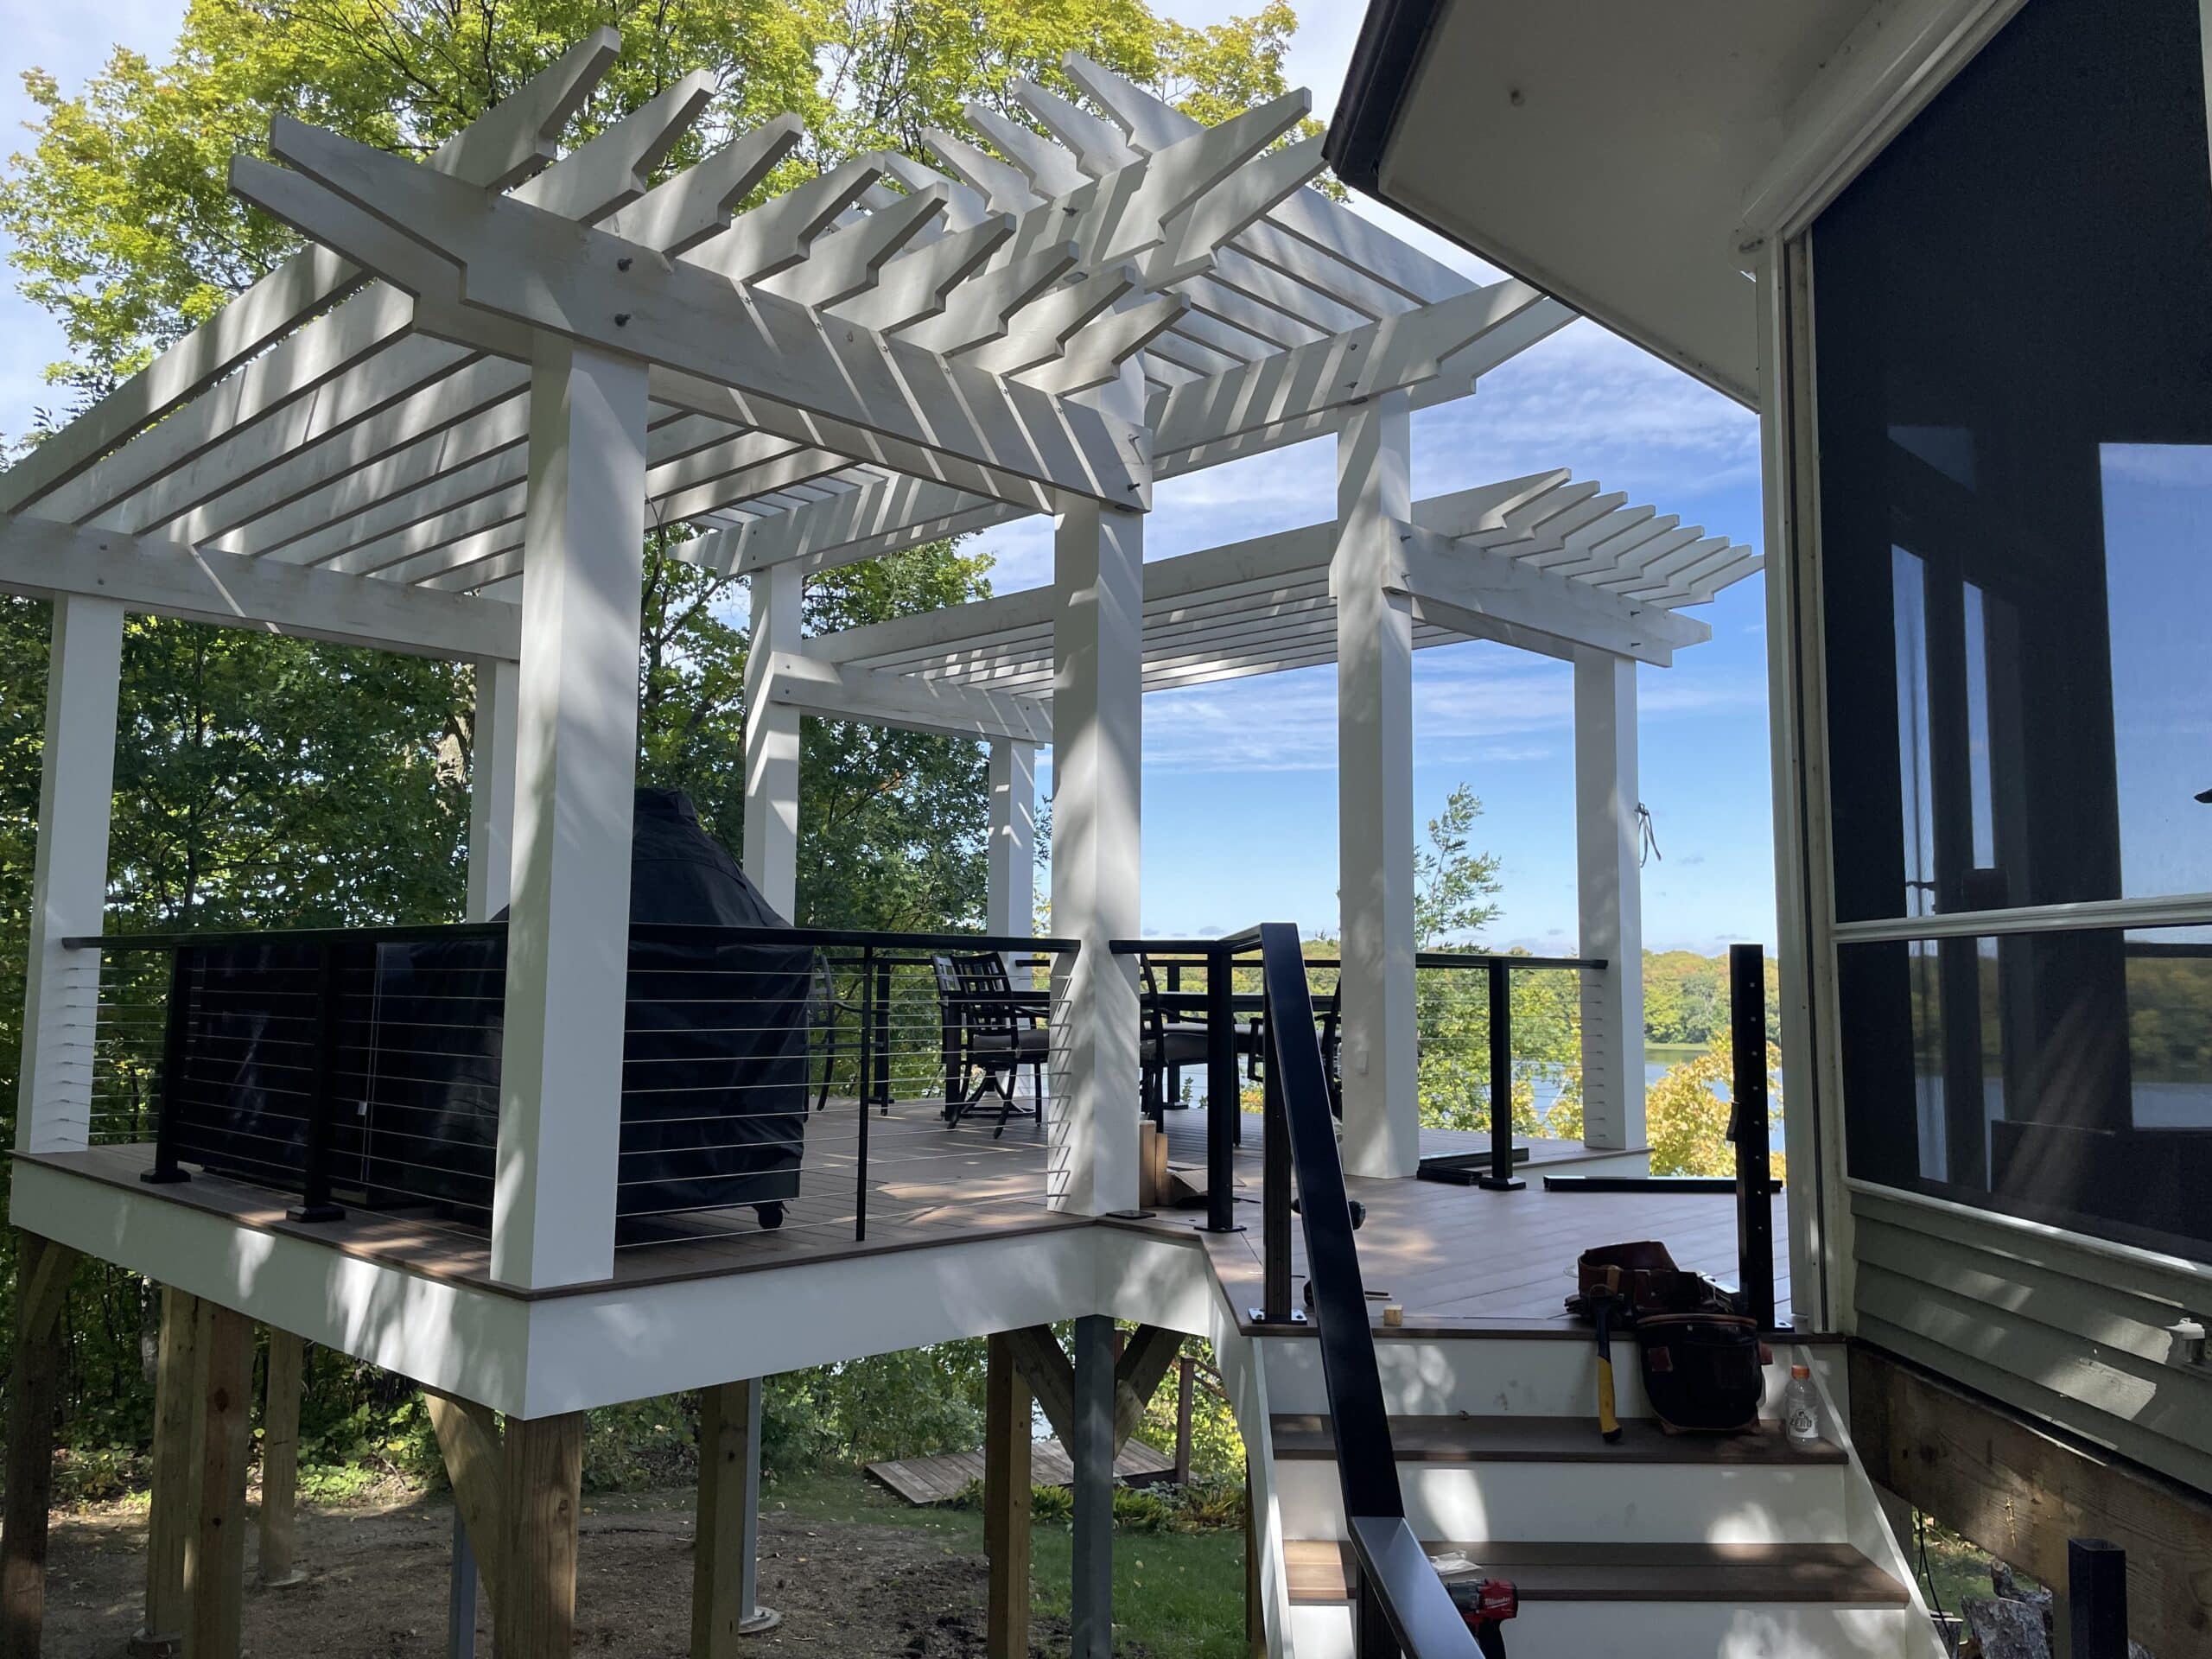
Bailey incorporated the RailFX Express Mount Bracket™ system to expand the view of the spacious backyard, fully embracing the mid-century modern aesthetic. Further, the double-height railing allows for a unique approach to embracing the outdoors. Add in some new landscaping, and this backyard upgrade is one for the books.

Check out the Pretty Handy Girl website for a step-by-step look at the remodel before the porch addition. For a walkthrough of the new deck, check out this highlight reel.

The RailFX Express Mount Bracket™ system makes expanding your view fast and easy! With a few simple tools and the universal drilling template, you can take your railing from drab to fab over a weekend. For DIYers and contractors, it’s an affordable way to embrace a modern aesthetic. The brackets are simple to install on your existing posts and work for both level and angled applications.

Check out the project planning tool to get everything you need to bring RailFX Express Mount Bracket™ to your own deck or patio.

When it comes to enhancing the beauty and functionality of your porch or patio, choosing the right cable railing is a must. With a sleek, modern design, low maintenance, and extreme durability, cable railings offer unobstructed views and a sophisticated aesthetic.

However, not all systems are created equal. Whether you’re considering the material, installation process, or overall style, selecting the best option can transform your outdoor space. RailFX® offers numerous products and styles and has tools to help you choose the best solution to expand your outdoor space perfectly.

Considerations For Cable Railing System Installations

When choosing a cable railing system for your deck or patio, consider several factors. Don’t overlook these areas to ensure a successful and long-lasting project.

Local Building Codes

Before starting your installation, checking your local building codes is essential. Regulations vary by region and can dictate everything from the spacing between cables to the height of the railing. Confirming compliance with your local building codes will avoid potential safety issues and costly modifications down the line.

Cost

Budget is always a key factor in any home improvement project. While cable railing systems can range in price depending on the materials and complexity of installation, it’s important to balance cost with quality.

Cheaper options may save money upfront but could lead to more maintenance or replacement expenses later on. Investing in a high-quality system from RailFX® guarantees durability and value over time.

Installation Method

Decide whether you plan to install the railing yourself or hire a professional. Some systems are designed for easy DIY installation, while others may require more specialized tools or expertise. Factor in the complexity of the system and the time needed to complete the project when determining the best installation method for your needs.

Style

Your railing system should complement the overall aesthetic of your home and outdoor space. Consider your home’s architectural design and your personal preferences to choose a style that seamlessly integrates with your surroundings.

Material Quality

The durability and longevity of your cable railing system largely depend on the quality of the materials. Stainless steel cables, aluminum posts, and weather-resistant finishes ensure your railing stands up to the elements while maintaining its appearance over time. Opt for a high-quality system to guarantee long-term satisfaction and minimal maintenance.

While there are many considerations for your new cable railing system, RailFX® has made the decision process easy. We offer a wide range of railing system offerings that will be sure to make a lovely addition to your porch or patio.

RailFX Express Mount Bracket™ System

The RailFX Express Mount Bracket™ System is an excellent option for homeowners seeking an easy DIY cable railing solution, especially if you already have wood posts. It eliminates the need to drill through posts, significantly reducing installation time. The brackets are installed on the exterior of the posts, so the hardware is hidden from view.

RailFX Express Mount Bracket™ is compatible with our Classic Cable Kits. The kits come with the universal drilling template, cable, and all the hardware you need to install and are available at RailFX dealers nationwide. 

RailFX® FlexFX

Another option is the RailFX FlexFX system for wood posts. Fittings attach to end posts, and the cable passes through intermediate posts before terminating at the opposite end. This system is ideal for patios and porches with existing wood posts. FlexFX fittings are designed for both level and stair applications, making installation flexible and straightforward. 

With FlexFX, homeowners can use the Universal Drilling Template for precise alignment, ensuring accurate fitting alignment and spacing. Our patented Push-Lock® mechanism allows easy, tool-free cable insertion, streamlining the installation process while maintaining strong tensioning. FlexFX fittings are used in conjunction with bulk cable options.

RailFX Oasis™ Railing System 

If you’re considering adding a completely new railing to make your outdoor space cleaner, RailFX has the perfect solution! The RailFX Oasis™ Railing System is an excellent choice for new installations using extruded aluminum posts.

These posts are designed to never rust, ensuring longevity and minimal maintenance. The system supports both cable and picket infill options, offering versatility in design.

With post spacing of up to eight feet and post heights for 36 in. and 42 in. railings, the RailFX Oasis Railing System is a budget-friendly railing option with everything kitted for your project.

RailFX Custom Railing

Even with our many options, you may have a unique need for a more customized solution. RailFX offers custom cable railing systems to meet your needs. The RailFX Custom Railing System is ideal for homeowners seeking a highly personalized railing for their porch or patio.

This all-in-one system allows customization through various infill options (cable, picket, or glass), five top rail designs, and multiple post-mounting styles. It also comes with pre-drilled posts and easy-to-trim seamless top rails, making installation flexible and efficient. Various colors, including custom options, provide even more design flexibility, ensuring the railing matches any aesthetic.

Use our Get A Quote tool to expand your view today!

RailFX Has Everything You Need To Achieve Your Dream Railing

Whether you want to upgrade an existing porch or patio or start a new installation, RailFX has the perfect railing system to bring your vision to life. With options for every need, from easy DIY solutions to fully customized options, you can create an open view with a modern aesthetic that enhances your outdoor space.

Project Name: The Cassidy Home

Installer: Carolina Platinum Decking

Products Installed: RailFX Oasis™ Railing System, FlexFX Fittings

The Cassidy home is nestled on the shoreline of Lake Norman, North Carolina. Situated around 20 miles north of Charlotte, this man-made lake is often referred to as the “inland sea” of the Tarheel state. With over 500 miles of shoreline, this region is a favorite for vacationers and commuters, creating an eclectic mix of architectural styles.

One of the biggest draws to the region, Lake Norman provides ample opportunity to enjoy the outdoors. Hiking, mountain biking, fishing, and bird watching draw people from around the country. 

The Cassidy Home

Built in 2000, the Cassidy home is designed to take advantage of its proximity to the shoreline. 

A large deck area overlooks flagstone walkways and mature trees, creating a relaxing outdoor extension of the home. Just across the yard, Lake Norman beckons. Boat slips and docks give the neighborhood a nautical feel. 

The homeowners say they spend time on their deck daily enjoying the view. They love their outdoor space, whether for breakfast or a glass of wine, while dinner cooks on the grill. Before this project, they had metal railings obstructing their view of the lake.

Before

As you can see from the before pictures, the brown metal picket infill didn’t let them take full advantage of their view. With cable railing, they’ve expanded their view to encompass more of their lakefront property.

After

The water side is typically considered the front for lakeside homes, so lake appeal matters! Improving their railing system with RailFX Oasis upgraded their lakefront curb appeal. When guests stop by, they comment on how the home’s profile is cleaner and more modern. 

Planning a project with RailFX Oasis is as simple as choosing your infill, selecting your railing height, and purchasing the components from your local dealer. A more straightforward approach than a fully custom kit, the components are easy to choose from and assemble.

This lakefront project also uses the PTIA 2024 Winner RailFX FlexFX fittings that are ideal for projects with structural columns. With the new FlexFX fittings, it’s easy to work around the design of your deck to take full advantage of what cable railing has to offer.

Using RailFX Oasis™ and FlexFX fittings expanded the view of the Cassidy home. By blending their outdoor and indoor living spaces, they’ve created an exterior living room they can enjoy year-round.

Ready to take the plunge on your new railing system? Get in touch with our team today!

When designing or updating a railing system, the post mounting method you choose makes a difference. Each has pros and cons that impact the installation timeline and final look of the railing and space.

With various mounting methods available, it is essential to make an informed decision about the best one for your project. Understanding the benefits of each will help you select the best option for your home. 

Post Mounting Methods

RailFX® offers several post mounting solutions to best suit your needs: Surface Mount, Fascia Mount, and Fascia Mount with bracket. Below, we’ll go into more detail about each method to help guide your decision-making process.

Surface Mount

Surface mounted posts, sometimes called top mount or deck mount, involve placing the railing post directly on the deck or stair tread. Whether installing them on a deck or interior stair, you’ll connect the footing directly onto the primary surface. Posts mounted in this manner are typically the easiest to install. 

This is a good choice for spaces with adequate square footage, as the mounting hardware takes up more space. Surface mounted posts also create a bold contrast between your floor and railing. RailFX® offers caps and post skirts to help blend mounts into your flooring seamlessly.

Fascia Mount

If you’re concerned about preserving stair or deck space, fascia mounts are an excellent choice. Sometimes called side mount, this method connects the posts to the side of the structure. Fascia mounted posts remove the need for an optional post skirt or cap. 

Additionally, on exterior decks with waterproof membranes, they’re commonly selected because they remove the chance of lag bolts puncturing the moisture barrier. This method also makes keeping your deck surface clean easier because they don’t get in the way during cleaning.

The only downside of this mounting style is that it is more difficult to install than surface mounted posts. However, a fascia mount is an excellent choice for a clean and seamless look. 

Fascia Mount with Bracket

Including a bracket with a fascia mount offers an additional mounting option. When installed, the bracket acts like a cover and hides all mounting hardware for a cleaner aesthetic from the exterior side. It also allows for increased space on your deck or stair tread. 

As with a standard fascia mount, the Fascia Mount with Bracket option is more difficult to install than a Surface Mount system. Although easy installation may be the most significant deciding factor, the finished product will be worth the additional steps.

Understanding Your Space

Before deciding on the best post mounting method for your railing system, you’ll need to consider the location.

Indoor

Installing a railing system indoors your cable railing indoors can seem like the easier option as it has less of a chance of dealing with constantly changing weather and outdoor dirt and grime. Yet indoor rails have to deal with other concerns compared to outdoor railings. Since indoor railings can be used year-round, increased use becomes a challenge. Another challenge that indoor railings are up against is the lack of space compared to outdoor railings. Indoor railings are likely to be used in a more complex and confined space which will involve a more intricate installation process. 

Outdoor

When your cable railing project is outside it is important to understand the unique challenges that your new railing will face. Knowing these challenges will help you make a more informed decision about the type of post mounting that will be needed. Your area’s outdoor climate plays a large role in determining how you should mount your cable railing. Some systems are better qualified for intense sun and heat, while others are more suited for a cooler climate to withstand snow and ice. Along with weather, understanding the type of wildlife your railing may encounter should be considered as more durable materials may be required. 

Considering all the environmental aspects of your cable railing’s location will help you to better narrow down your options to create your perfect cable railing. 

Designing Your Perfect Cable Railing

RailFX® makes it easy for you to design a railing system that meets all of your needs. No matter the challenge, our team is standing by to help make your dream railing a reality. Using our Get A Quote tool, you’ll walk through the process of creating your perfect railing system from beginning to end. From various infill options to post mounting methods, we’ve got you covered.

Lean on our experienced customer service team to answer any questions you have. We’re here every step of the way!

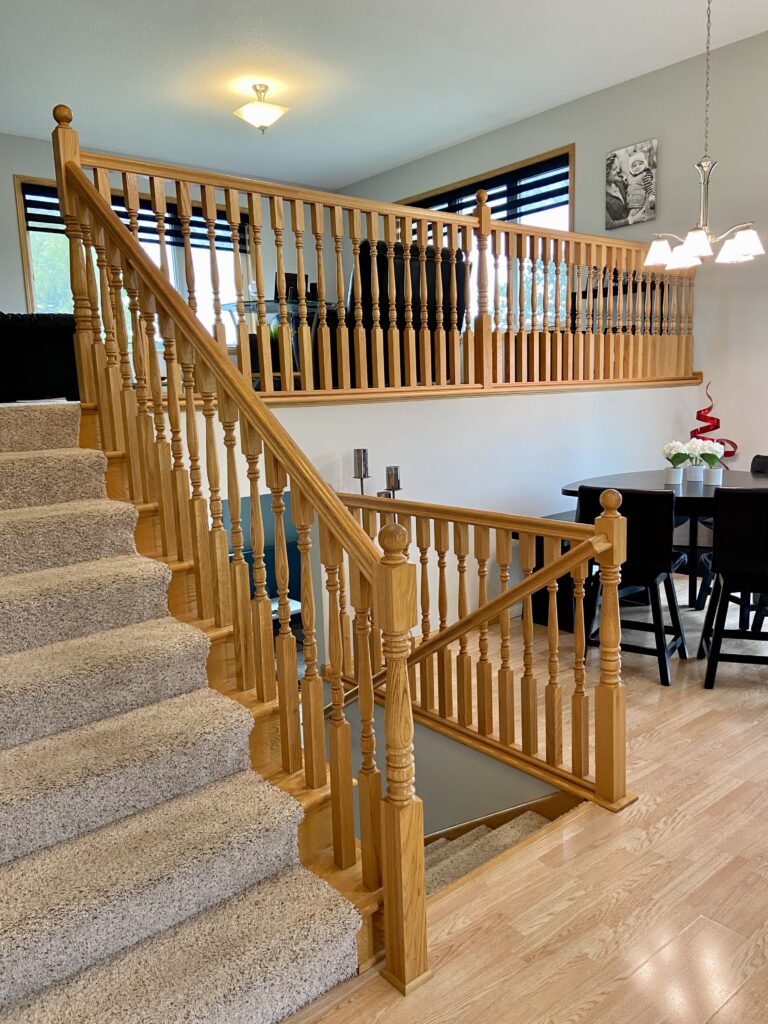
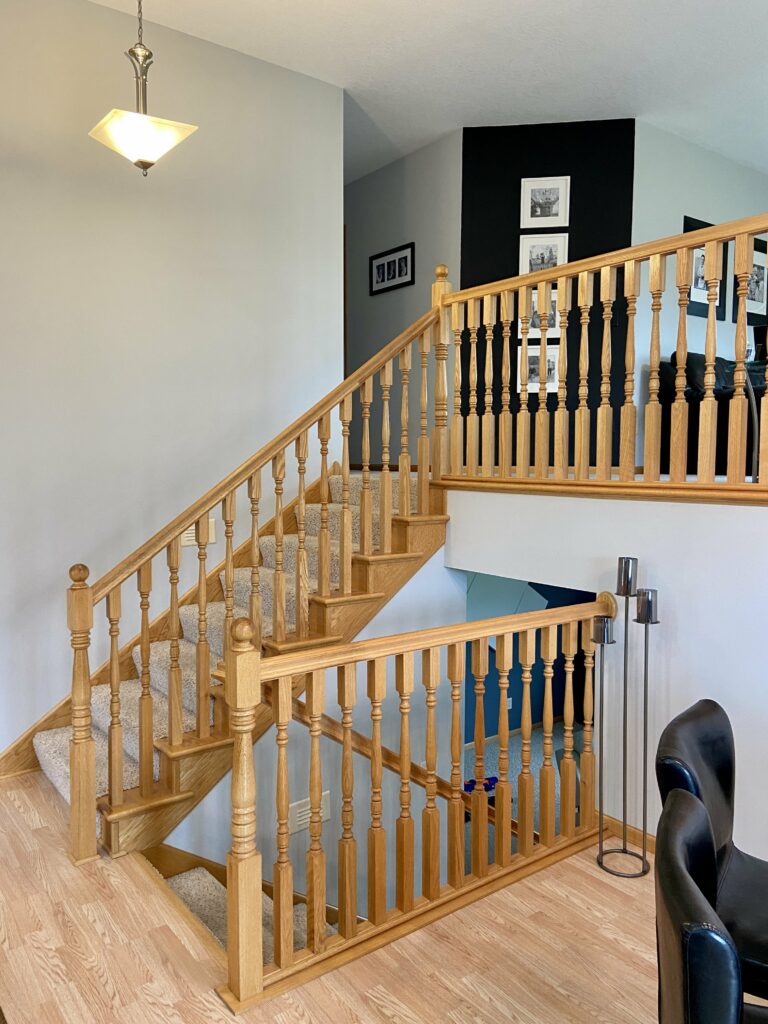
When you’re designing or remodeling your home, choosing the right stair railing system is essential. Glass, spindles, or iron balusters are all typically used for this essential design feature. Recently, Eric Goranson, or Eric G, long-time host of Around the House NW, a home improvement radio talk show and TV personality, took a different approach with a custom cable railing system. 

In his YouTube video, Goranson installed the RailFX Custom Railing System with stainless steel cable infill on the interior staircase of his home. Although cable railing is often associated with the outdoors, the clear view and modern aesthetic have been driving more homeowners to bring the look inside!  

With some simple tools and a few hours, our host retrofits his dated, tired rails into something beautiful and modern. Follow along with us as we break down the steps he takes to elevate his home with the RailFX Custom Railing System.  


Note that the International Building Code has requirements for handrails that DIYers should pay close attention to, along with your local building code. 

In this video, Eric uses the following RailFX parts: 

  • At RailFX, our team can help you properly plan your next project using our. It walks you through the decision-making process, Custom Railing System  
  • RFX400 Top Rail with self-supplied wood top rail 
  • Cable Infill- Low Profile Cable Kit (RFX224) 
  • Surface Mount Stair Posts, black finish 

Steps to a Successful Installation 

Step 1. Removing the old handrail system 

The first step in the process of installing a new railing system is to remove the old one. Gather the necessary tools, which may include a screwdriver, crowbar, hammer, or wrench depending on what type of railing you’re removing. 

Step 2. Assemble and attach posts 

Before assembling and attaching your new posts, make sure they’re in the right order. There are end posts and intermediate posts that aren’t interchangeable. Stair rail posts also have a high and low side, so make sure they’re going in the right direction.  

If your railing project includes corners, start the first post with a corner post. You’ll want to: 

  • Measure and mark the holes 
  • Ensure that the holes in both the post and bracket are aligned 
  • Pre-drill the holes, then insert the leg screws 
  • Tighten the screws to ensure the post is level 
  • Fit the footplate 
  • Then fasten the top bracket plate 

Step 3. Cut posts to fit the slope of your stairs 

Measure down from the top rail to keep cable height consistent before cutting. As the adage goes, you can always measure a few times, but you can only cut once. 

After making the marks of where you want to cut, you can use a portable band saw or a chop saw to make the cuts. If you choose to use a chop saw, make sure to get a metal blade and uninstall the posts before cutting them.  

Pro Tip: When cutting metal, use painter’s tape on the cut line to keep metal shavings from falling on the floor. 

Step 4. Install the top rail and cut to size 

Snap in the top rail before screwing into the posts. Then cut it to sizes and install the endcaps. 

Step 5. String the cable system 

Run the cable through the holes before tensioning from the middle out. To tighten the cable, use a hex screw to tighten so that it feels secure and doesn’t droop.  

Step 6. Customize with a wooden handrail 

Now it’s time to personalize your railing system using a wooden handrail. The RFX400 Top Rail accepts a wood top handrail, tying materials together for a truly custom look. 

Proper Planning Can Make Your Renovation Easy 

Planning out your home railing renovation project before diving in is an essential step in ensuring you have a smooth project from start to finish. Make sure you know exactly what parts and tools you’ll need before starting.  

If you’re not sure where to start or need extra guidance, use our Get a Quote tool that walks you through the decision-making process. From choosing rail height, color, infill, top rail style, and other features, it’s the best way to visualize your project.  

The railing experts at RailFX are ready to answer any questions you have along the way and will lay out a complete project plan including installation tools. From there, your project plan and quote will be passed along to your preferred dealer. 

Find a local dealer using our convenient Dealer Locator tool

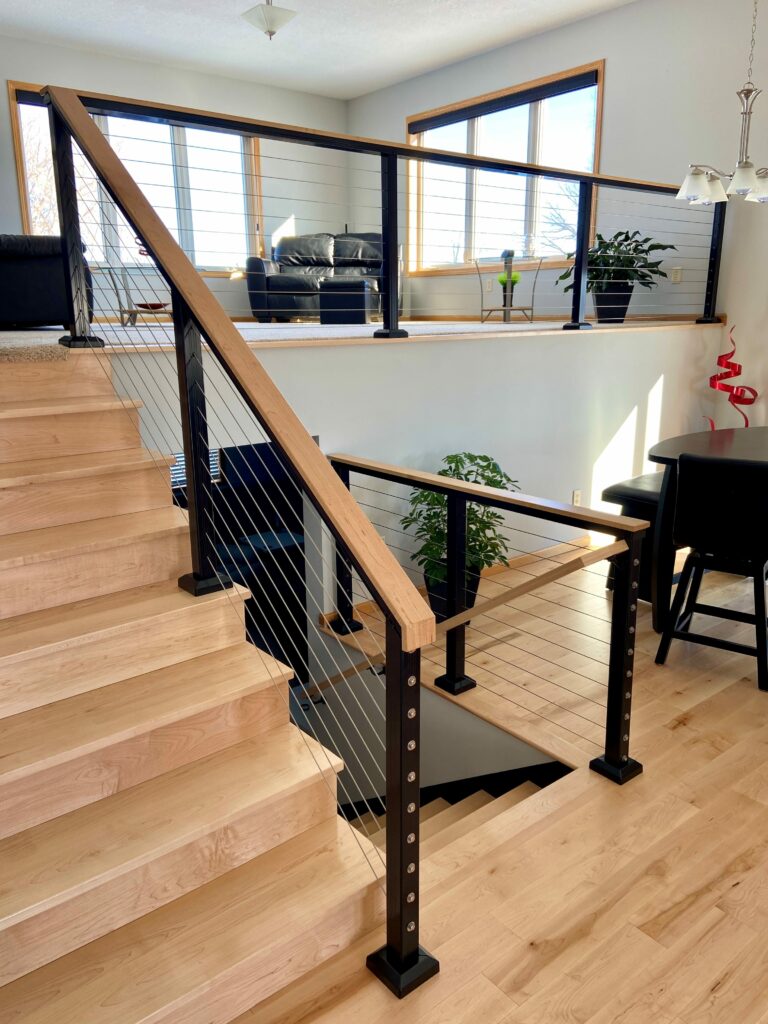
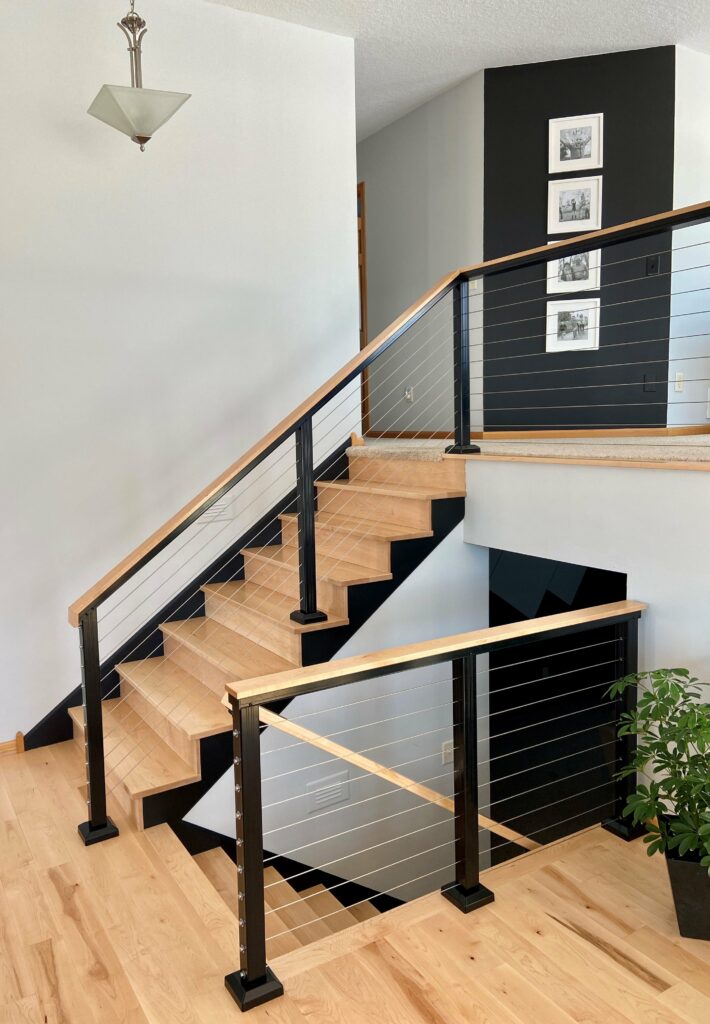
Black aluminum posts and stainless steel cable railing on indoor stairs with wooden treads.

RailFX makes the process of upgrading your space with a railing system simple by providing all-in-one solutions along with the resources you need to get the project done.  

Contact your local dealer and find more information at https://www.railfx.net/   

When it’s time to upgrade or replace the railing systems around your home, it’s the perfect time to think about more than just functionality. Beyond the aesthetics, you’re likely to consider price, materials, longevity, and maintenance. Each of these factors comes into play when designing or remodeling your home. 

Spending time browsing the internet, it’s easy to go down a rabbit hole of options. Railing manufacturers have come a long way in recent years and there are so many types and materials available, it can feel overwhelming. 

If you’re lucky enough to have a professional on your team, they can give you advice to enhance the aesthetic of your space. And, if you’re taking it on yourself, don’t worry! We’ve done the research for you. 

Today, we’re looking at the most common materials used for railing systems in the United States.  

Which type of railing is best? 

Railings play an integral part in the look of your home, deck, and patio areas. And, just like different architectural styles, there isn’t one that’s the best. Thankfully, there are options out there that fit any design. 

When you think about it, railings can be found throughout your home. Along with obvious applications like along a staircase or deck, they’re also used to help define different spaces. They’re frequently used at the edge of a sunken living room, around a balcony or along a loft or upper-story walkway. 

Safety matters 

Beyond the design of a handrail system, you should also consider safety. Whether indoors or outdoors, railings are there to protect you and your loved ones from a fall. Every railing installed both inside and outside your home must meet rigorous building code standards to ensure your safety.  

Safety requirements cover everything from rail height, distance between posts, fasteners used, and infill types.  

Pros and Cons of Different Materials 

Wood 

Wood is hands down the most classic railing material. If you are replacing an existing railing system, especially inside your home, odds are that some or all of it is made from wood. 

These railing systems can be made entirely of wood, including the posts, top rail, and pickets. In a more modern design, they may include other materials, like glass, iron rods or cable infill. 

Wood is a great option because it’s not overly expensive to install. You can paint or stain it any color to coordinate with other features in your home. And, depending on your project and technical capabilities, you may be able to install a wood railing yourself.  

Many suppliers offer wood railing kits, with the necessary fittings and hardware included. 

For outdoor applications, the downside to wood is that it’s a natural material that tends to break down over time. Especially in regions with extreme weather, high humidity or precipitation, even pressure treated wood only lasts 10 to 15 years, on average.  

Without regular maintenance, including cleaning and staining, wood will dry out and splinter, rot and go moldy due to moisture infiltration. It’s also susceptible to pests that can reduce its effectiveness over time. 

Vinyl 

Vinyl is among the most affordable railing systems on the market. It’s usually made from preformed PVC and comes in a variety of colors to match your aesthetic. Typically, vinyl railing systems are supported internally by an aluminum or steel frame to provide strength. 

This material is reasonably maintenance-free and needs only an occasional cleaning to remove any debris or dirt. It’s more affordable to install than other options. And, as a low maintenance option, you won’t spend a fortune keeping it looking pristine. 

Unlike some of the other common materials, vinyl doesn’t age well, especially outdoors. When you’re ready for a refresh, it’s not as simple as sanding and repainting or staining. Vinyl railing systems can fade over time.  

Durability is another common complaint. Vinyl isn’t ideal for extremely hot or cold climates, and it can warp or crack, which will require it to be replaced. 

Steel  

A stainless-steel railing system is virtually maintenance-free and is resistant to corrosion when properly maintained. Homeowners concerned about durability and longevity can consider options like 306L or 2205 stainless steel. These products are rated for use in corrosive environments like near the ocean or pool. 

A steel railing system may consist entirely of stainless-steel components for the posts, top rail, and pickets. Alternatively, it may incorporate other materials like cable and glass for infill. While kits are available for DIYers wanting to take on the project, the weight of steel can make it difficult to manage on your own. 

While you’re sure to enjoy the benefits, your pocketbook will feel otherwise. Steel, particularly stainless steel, is the most expensive railing material. At nearly 10 times the price of comparable wood railing systems, it’s a big investment. 

Aluminum 

Aluminum is a great alternative to steel. It’s better suited for a savvy DIYer as its lighter weight makes it easier to move around and install. Additionally, aluminum railing systems tend to be less expensive than steel, while sacrificing very little in strength and durability. 

Many suppliers of aluminum railings offer a variety of color finishes. Before the railing is finished in the color of your choice, it is pre-treated to help improve aluminum’s overall corrosion resistance. The treatment along with the color options make them a flexible option to fit with any design aesthetics. 

Once they’re installed, aluminum railings are virtually maintenance-free, and have a greater lifetime value over wood and vinyl. 

Infill Options 

Many of the railing systems we’ve discussed use the same material for infill. But the space between the bottom and top rail can usually be filled with the material of your choice. You’ll typically see wood or metal pickets, glass panels, and metal cable in residential and commercial applications.  

Glass Panels 

Glass panels are a modern design choice that elevate your indoor and outdoor railings. They can provide a clear view and let in natural light or allow privacy if you choose frosted glass.  

One of the most popular infills, they don’t require regular maintenance. Cleaning is another story, though. If you’ve got children or pets in the house, though, invest in glass cleaner! Outdoor decks put your infill directly in the path of environmental factors like pollen and dirt. 

Glass can be heavy and if not handled properly, can crack during installation. Therefore, we suggest you hire a professional to manage the installation. 

Cable 

Cable railing systems are becoming increasingly popular. Compared to other railing components, cable is relatively lightweight, and the hardware is fairly easy to use. Stainless steel cable is durable and long lasting and regular maintenance is minimal.  

Most often made from stainless steel, these high-tension cables balance the need for safety while creating an open and elevated view. They’re well suited for both indoor and outdoor uses. 

Cable railing systems work with nearly any type of post material, including aluminum, steel, composite sleeves, and wood. They’re also easy to install yourself in existing railings. With the RailFX® Express Mount Bracket™, for example, you can upgrade your wood deck railing in an afternoon! 

Material options like 316-grade stainless steel make cable railing corrosion-resistant and well-suited to seaside environments. Keep in mind that the key to a code-compliant cable railing system is achieving the necessary tension. So, while it’s easy enough to DIY, you may want to bring in a professional to install it. 

Let the team at RailFX help! 

We hope that our breakdown of the different railing systems and infills has helped you narrow down your choices. The right railing system can elevate your views and provide an aesthetic boost to your space.  

For more information or to design your own custom cable railing system, reach out to our railing experts. Once you’ve got the design you love, we can connect you with local dealers and installers to help make your dream a reality.  

Contact us now to begin the process! 

If you have a cable railing system and you live near the water, one of the biggest perks is the view. Sitting on your deck looking out at the endless ocean can feel like a permanent vacation. Building your deck out of the right materials matters as salt water is a major contributor to deck and fastener failure. Modern building codes focus on creating safer, longer-lasting decks and patios.

Beyond the ledger, joists, and decking materials, you’ll also want to pay close attention to the railing system. Because they’re constantly exposed to humidity and corrosive salts, incorporating materials that aren’t reactive into your posts and balusters is advisable.

And, while there are several options for non-corrosive railing systems, we love aluminum railing with stainless steel cable!

Expanding your view with a nearly invisible horizontal tensioned cable railing system is the best way. Naturally non-reactive, stainless-steel cable paired with aluminum or pressure treated wood is a long-lasting, modern solution.

Today, we’re looking at what installing a cable railing system can add to your life on the water. We’ll look at some of the pros and cons and give you the specifics on upkeep and maintenance with this popular railing system.

Understanding Stainless Steel Cable Railing Systems

Choosing stainless steel cable railing for your beachfront home is one of the best ways to embrace a modern aesthetic. You’ll enjoy unobstructed views, simple installation, and easy maintenance.

For a modern, minimalist look, there’s not a better choice out there. Working with a cable railing manufacturer, you can customize kits to meet your specific needs. Or you can retrofit your existing wood rails to replace the balusters with cable using systems like the RailFX® Express Mount Bracket™ System.

According to the International Residential Building Code, cable infill must meet certain criteria. As a result, the industry standard is set at least 200 pounds of tension, but many manufacturers aim higher. For instance, RailFX® cable railing systems generally provide 225 pounds of tension, exceeding the industry standard.

Before you begin a project like this, doing your homework is essential. Work with established manufacturers who can provide you with structural drawings and other necessary permitting information. Your local building office is one of the best places to start!

For an in-depth look at what you’ll need to consider, check out our blog on the topic.

Once installed, you’ll enjoy the gorgeous ocean views right away. But there are some important considerations surrounding upkeep and maintenance you’ll want to keep in mind.

Benefits of Stainless-Steel Cable Railings in Coastal Areas

A well-maintained cable railing system can increase your enjoyment of the outdoor spaces around your home. Views are only part of the equation. Add in lower maintenance and a modern aesthetic, and you’ve got a significant value add on your hands.

As we mentioned, one of the biggest issues with deck and railing materials around water is corrosion and decay. Stainless steel is naturally resistant to corrosion in the right environment. However, factors like saline, grease, moisture, and extended periods of heat can affect its longevity.

To combat this, engineers use 316 or marine grade stainless steel for outdoor applications near water. By adding certain elements like molybdenum, chromium, and nickel, it becomes nearly impervious to corrosion from salt.

Using corrosion resistant infill for your deck railing is a good start. Cables made from 316 stainless steel are less likely to face corrosion and last for the life of the deck. Typically, cables make use of a 1 x 19 ratio with 19 wires making up 1 cable. Most also incorporate a simple re-tensioning system that allows for easy adjustments to maintain proper tension in the system.

Common Issues with Stainless Steel Cable Railings in High Humidity

Coastal regions tend to have humidity levels that may impact your railing system. Aerosolized seawater can settle on your cables and may cause a reduction in how resistant they are to corrosion.

Marine grade stainless steel has a natural resistance to corrosion provided by the 12% chromium in the alloy. As it reacts with oxygen, it creates a thin layer that protects the surface and will self-repair if it’s removed or damaged, as long as it’s clean.

If you’re installing a stainless-steel cable railing system near the coast, it’ll be exposed to higher levels of salt from the ocean. Additionally, if it’s around a pool, chlorine in the water may contribute to corrosion.

Regular Cleaning and Maintenance Tips

The best way to prevent corrosion from marring your perfect view is through regular cleaning and maintenance. The team at RailFX® suggest simply wiping down your cable railing with clean water as a first step. Mild dish soap is great for more stubborn messes left by birds or storm debris.

Always avoid harsh chemicals when cleaning stainless steel. There are several products on the market that claim to protect stainless steel from corrosive elements.

Check with your manufacturer before using any of these products and test on a small area first.

Anytime there’s a weather event, make sure to inspect your railing system to see if there’s been any damage. Most of the time, there’s enough tension in the cables to keep them in place. This won’t always be the case, though, and catching any issues early can prevent corrosion from setting in.

RailFX® is your one-stop-shop for stainless steel cable railing

To get the most out of your ocean view, embrace the openness of cable railing systems. Bringing the right mix of low maintenance and clean lines to the table, they’re one of our favorite ways to make your space feel bigger and more modern.

With our dedication to innovation, easy installation, and expert customer support, RailFX® is here for you! Our industry-leading warranty makes no exclusions for salt water damage, so you can enjoy your view without worry.

Work with our dedicated team to design and spec out your deck project quickly and easily. Once you’ve got your quote, our team works with a dealer in your area to ensure that you’ve got everything you need to install.

Check out our cable railing solutions and get inspired today!

A deck or patio is the perfect place for you to enjoy the great outdoors. Open views and space to entertain make them an ideal addition to your home.

Elevating your outdoor space might feel like a dream, but we’ve got your back!

The RailFX® Oasis™ Railing System offers a seamless solution to transform any space into a serene and stylish sanctuary. We’ll walk you through the process of selecting, designing, and installing your RailFX® Oasis™ Railing System to ensure your outdoor space becomes the oasis you’ve always wanted.

Understanding the RailFX® Oasis™ Railing System

The RailFX® Oasis™ Railing System is designed with simplicity and durability in mind. Made from extruded aluminum in a textured black finish, it promises longevity without the risk of rust, meeting, and exceeding IBC and IRC  requirements. Its design options are flexible, offering both picket and horizontal cable infill options that add elegance to any outdoor setting.

Key Features:

  • Post Size: 3″
  • Post Spacing: Up to 8′
  • Infill Options: Picket, Horizontal Cable
  • Finish: Textured Black
  • Warranty: Limited Lifetime

Designing Your Outdoor Oasis

Choose Your View

Railing infill is not just a part of design; it’s a critical feature that combines aesthetics, safety, and code compliance. It serves as the “filler” material between the handrail and the deck or floor, ensuring that spaces are safely enclosed without compromising on visual appeal.

Your choice of infill material significantly affects the overall look and functionality of a railing system. For this reason, it’s an essential consideration for architects, builders, and homeowners alike. When choosing between cable or picket infill, you should first decide your aesthetic preference and your functional needs.

Cable infill offers a modern deck railing look with unobstructed views, ideal for showing off gorgeous landscapes or gardens. Stainless steel cables require minimal maintenance and provide a sleek, mixed material look. They’re perfect for contemporary settings where preserving sightlines is crucial, as cables seem to “disappear” from view.

Picket infill provides a more traditional appearance, where the pickets match the post and rails. The textured black finish used throughout the picket railing system can provide greater contrast against the deck boards and scenery.  

Deciding on Railing Height

RailFX® offers two standard railing heights: 36 inches and 42 inches. Height typically depends on local building codes for safety and personal preference for visibility. Generally, residential railings should be 36 inches high for decks and balconies. Commercial railings—and residential railings in the state of California— require a minimum railing height of 42 inches.

Selecting Top Rail Lengths

Top rails are available in 6-foot lengths for picket railing systems and 8-foot lengths for both picket and cable railing systems. This choice should be guided by the overall design layout of your deck or balcony to ensure consistency and structural integrity.

Rails are designed to be cut down to the exact size you need. Since you can’t extend a rail that’s too short to span the gap, you should ensure your rail kit is slightly longer than the space between your posts.

Installation Essentials

Installing your RailFX® Oasis™ Railing System is straightforward with the right tools and preparation. Here’s what you’ll need:

  • Post Drilling Template: Simplifies installation by providing precise pre-drill positioning for brackets and by centering the bottom rail bracket on post when installing screws. 
  • Touch-Up Paint: Keeps your railing looking new by easily covering any scratches or dings incurred during installation or use.
  • Instruction Guide: As always, it’s important to follow instructions closely during installation to maintain warranty coverage and ensure safety compliance. We advise reading written instructions prior to beginning installation.

Resources & Inspiration

RailFX® provides valuable resources to help you in your project planning, from sparking ideas for designing your outdoor oasis to ensuring proper installation techniques are followed. View our resources to learn more:

Combining Simplicity and Style

Transforming your outdoor space into an oasis is within reach with the RailFX® Oasis™ Railing System. By understanding its features, carefully planning your design, and following detailed installation guidelines, you can achieve an elegant, durable outdoor living area that will bring joy for years to come.

Whether you’re enjoying quiet mornings alone or entertaining guests under the stars, your RailFX® Oasis™ equipped space will undoubtedly become your favorite retreat.

To design your dream railing system, connect with a RailFX® Oasis™ Railing System dealer to get started!

Learn more about RailFX® Oasis™ today!

https://www.railfx.net/railfx-oasis-railing-system/.


Express Mount Brackets Win 2023 Pro Tool Innovation Award

RailFX® received a prestigious 2023 Pro Tool Innovation Award for the new Express Mount Brackets™. 
A panel of judges, composed of contractors, construction business owners, tradespeople, and media professionals, have tallied the votes for the world’s most innovative products in the construction and outdoor power equipment industry. In its eleventh year, the Pro Tool Innovation Awards brought to light an impressive assortment of pioneering power tools, hand tools, tool accessories, and fasteners. Products were submitted by leading industry manufacturers, showcasing a remarkable breadth of innovation.

Here’s what the PTIA judges had to say about the RailFX Express Mount Brackets™:

Traditional cable railing systems look great, but they require a complex process of drilling through posts and can be a pain to get perfect-looking results. The RailFX Express Mount Brackets take so much of the headache out of the process, that it’s very approachable, even for DIYers who have never installed a cable railing system. Using a drilling template, you can easily ensure each bracket installs at exactly the right height. They screw directly into the side of the post, so there’s no need to drill through them. The hardware installs on the outside of the posts, leaving your view from the inside as one that reveals the look of cable without the hardware.

“Innovation comes in many forms. Pro Tool Innovation Award Winners push boundaries. They typically introduce features no one has ever seen, create new battery-powered solutions, redefine what compact tools can do, or even design products at a lower price than you would otherwise expect for the performance they deliver,” stated Kenny Koehler, Editor-in-Chief. “The work of teams and individuals who dare to think outside the box can be seen all over the Pro Tool Innovation Awards,” he added.

In a rigorous evaluation process spanning several dozen man-hours, the PTIA judges sifted through hundreds of cutting-edge power tools, hand tools, fasteners, products, and accessories. The selection of winners was based on a variety of critical factors. The awarded products stood out for their innovative features, superior power delivery, revolutionary ergonomics, technological advancements, improvements in jobsite safety, or exceptional value. The 2023 Pro Tool Innovation Award winners are a testament to the companies and products that propel the construction, landscaping, automotive, and manufacturing industries forward. These industry-leading products merit recognition for their role in driving progress within their respective fields.

This year, 99 different manufacturers and brands submitted over 465 products in dozens of categories for a chance to take home a 2023 Pro Tool Innovation Award.

In a statement reflecting on the 11th annual Pro Tool Innovation Awards, Executive Director Clint DeBoer expressed admiration for the ongoing innovation in the industry. “This marks our 11th year of hosting the PTIA Awards, and each year we witness an increasing level of innovation from both large and small companies.” DeBoer added, “Every Pro Tool Innovation Award celebrates a product developed by people who really believe that the standard we’re used to is no longer good enough.”

Click here to learn more about the award winning RailFX® Express Mount Brackets™.

For more about the Pro Tool Innovation Awards, visit protoolinnovationawards.com.