Mark and Theresa Clement are a match made in heaven. Theresa handles design duties while her licensed contractor husband handles the builds. When they decided to install the RailFX Express Mount Bracket® system on a new deck, it was an easy choice.
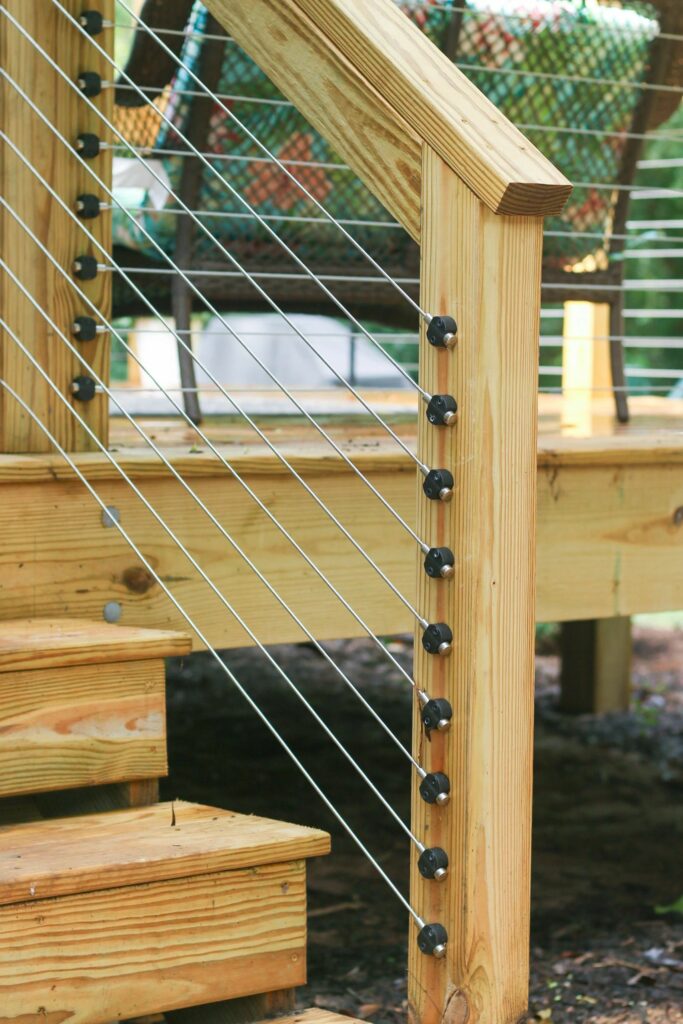
In his article published in the September/October 2024 issue of Professional Deck Builder Magazine, Clement points out that he mainly builds with pressure-treated (PT) southern pine because it’s affordable and durable. While most of his clients want an expanded view, traditional cable railing systems run around $10,000 and aren’t in the budget for a new build or remodel. With the RailFX Express Mount Bracket® system, he can offer gorgeous views at a third of the price.
https://youtu.be/8Kcjnk_tLII?si=jclyXsPpP01g-ZH3
Clement walks readers through the installation process, highlighting the differences between a traditional wood railing and a cable railing. One difference is installing a 2×4 between the posts, which he’s keeping for all his deck builds because of the aesthetic.
If you’re getting ready to install your own RailFX Express Mount Bracket® system, check out his article and this video of the gorgeous pine deck build from MyFixitUpLife.
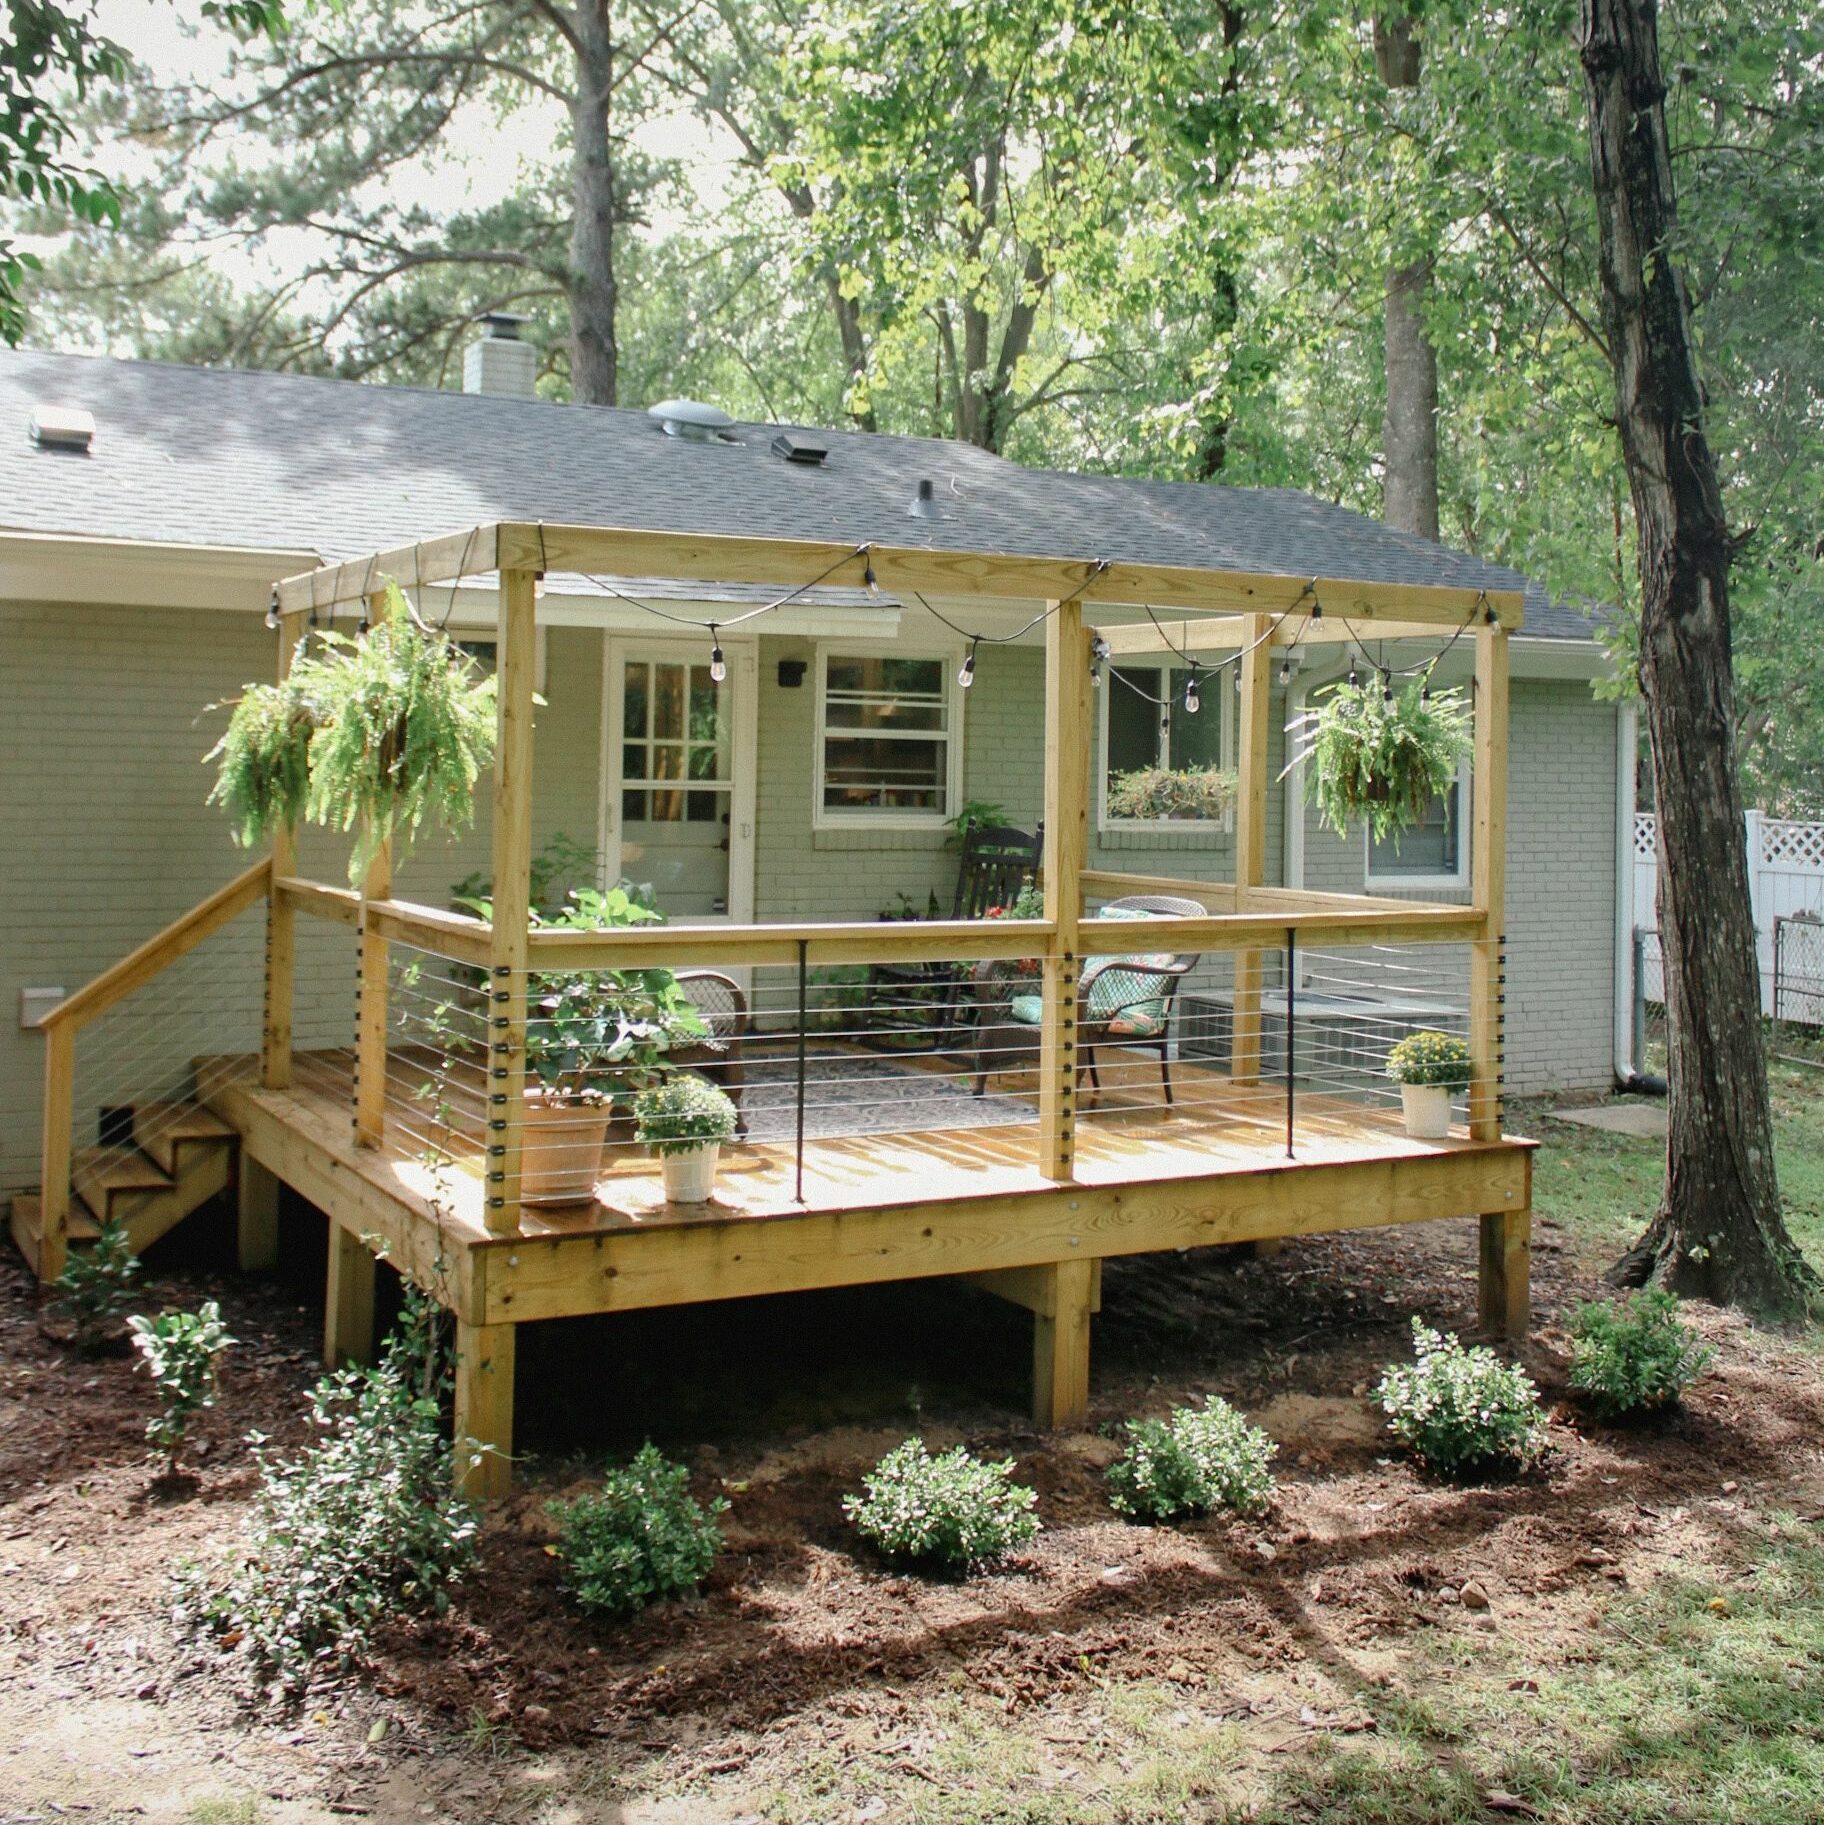
When licensed general contractor Brittany Bailey, aka Pretty Handy Girl, decided to take on a new remodeling project, a quaint 1950s brick ranch-style home caught her eye. It wasn’t her first choice since the market was hot in Raleigh, North Carolina, but she saw its potential. Hammer in hand, she started the remodeling process in 2019.
After spending a couple of years working on the home’s interior, there wasn’t much left to do. Her gorgeous upgrades raised the home’s value and infused it with a mid-century modern flavor. Check out a walkthrough of the project on the Pretty Handy Girl YouTube channel.
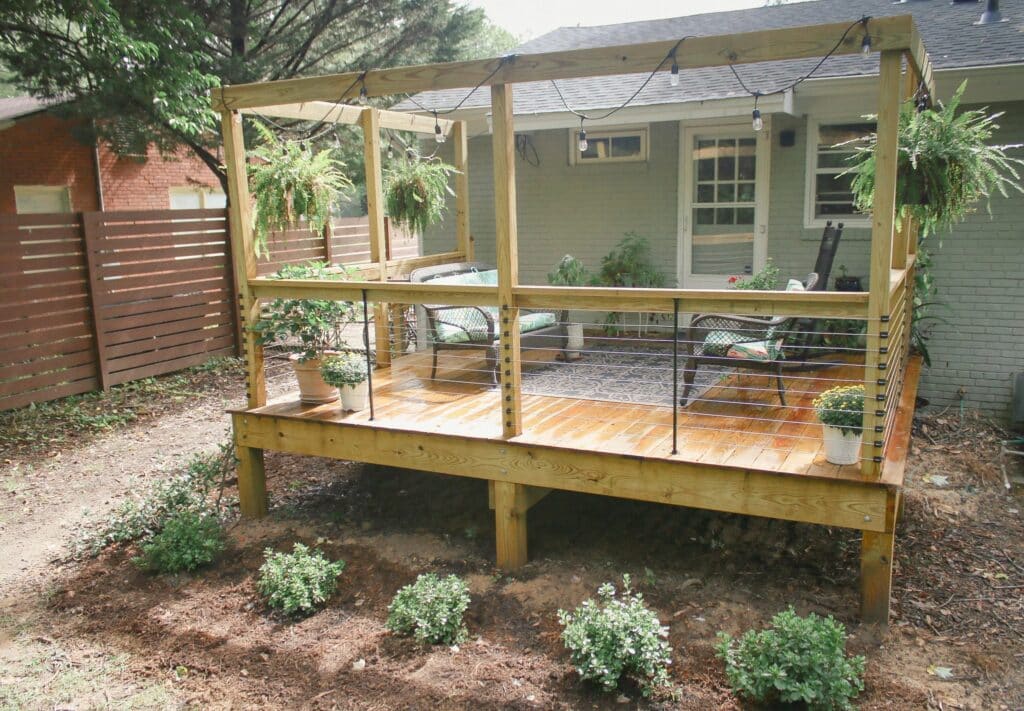
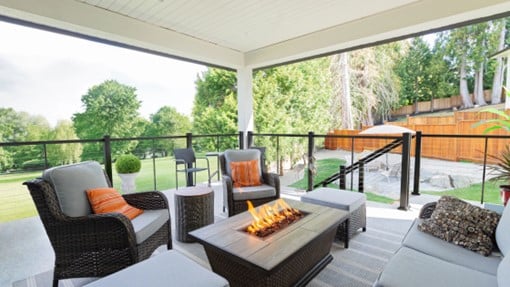
Once she finished the interior, Bailey turned her attention to the backyard deck. Much like the rest of the home, there was a lot of work to do!
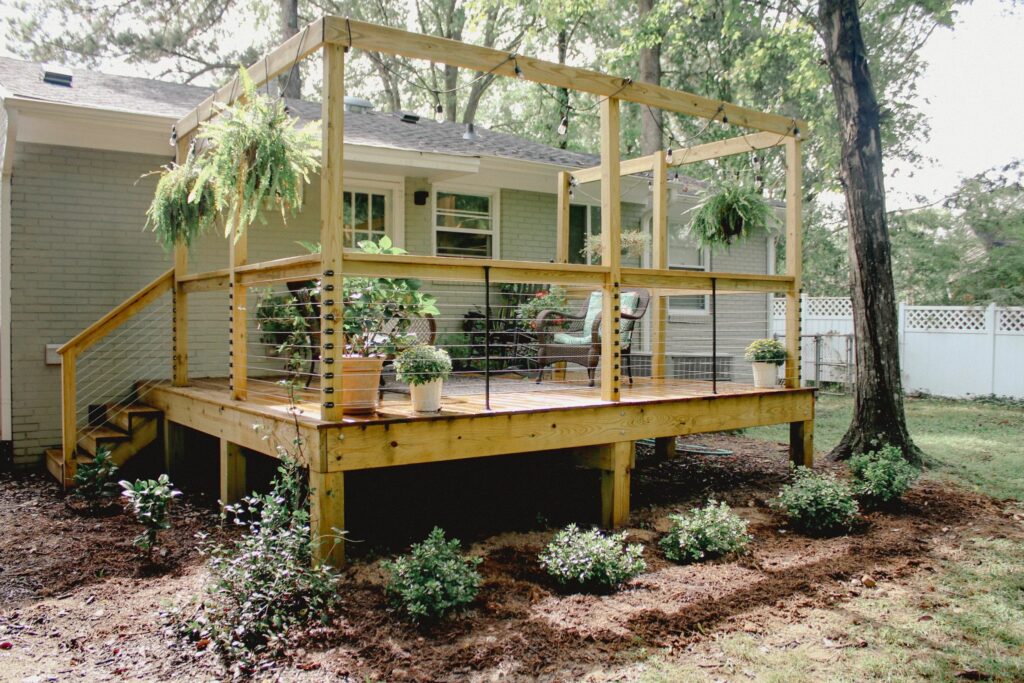
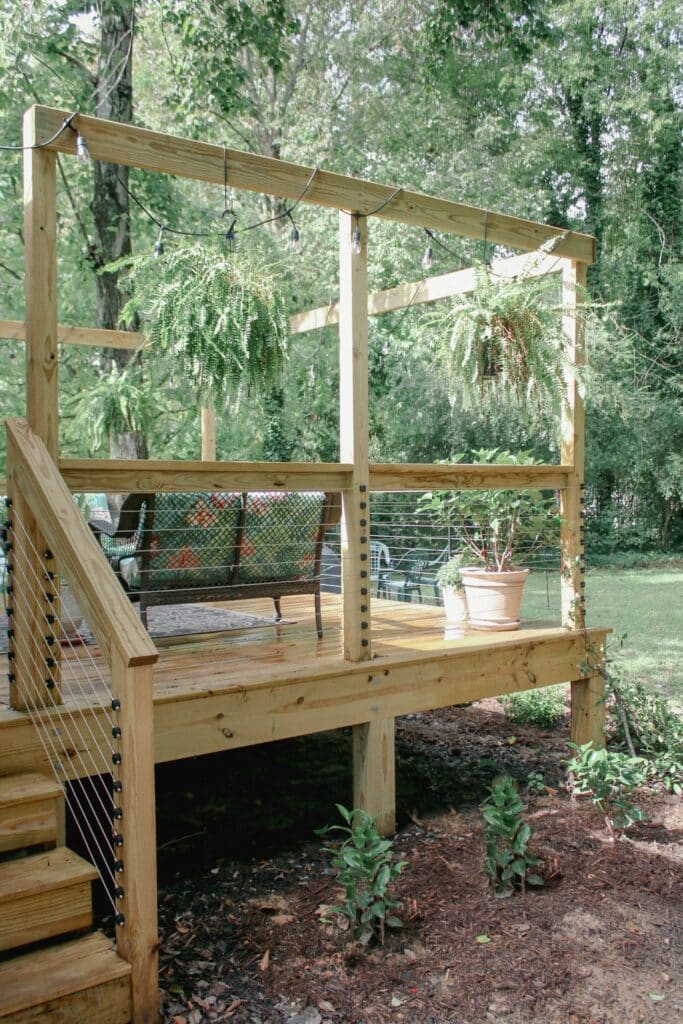
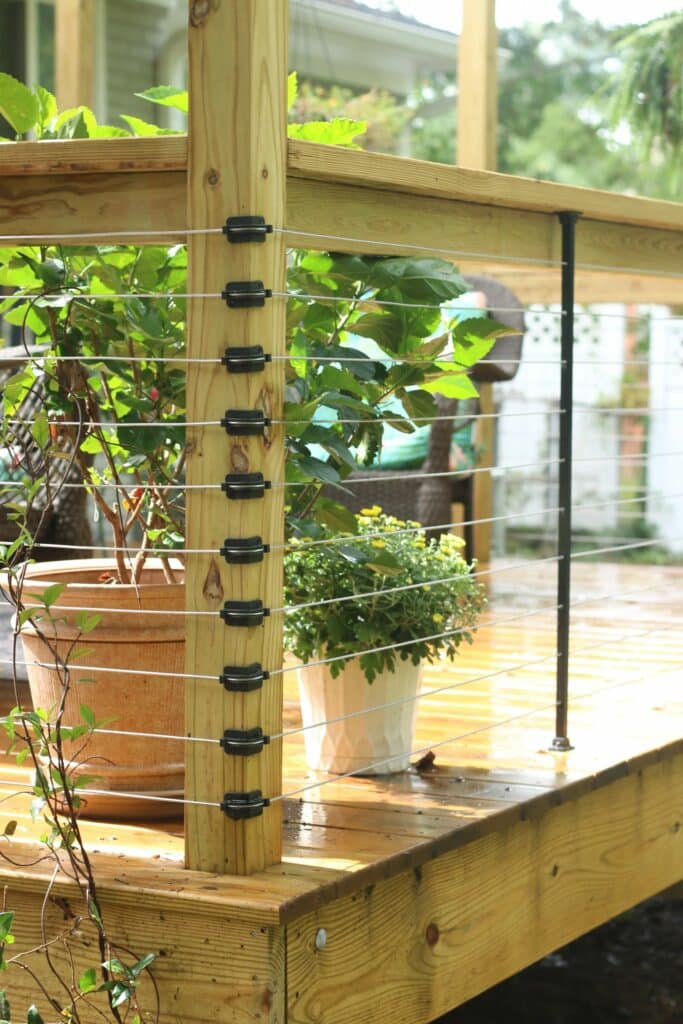
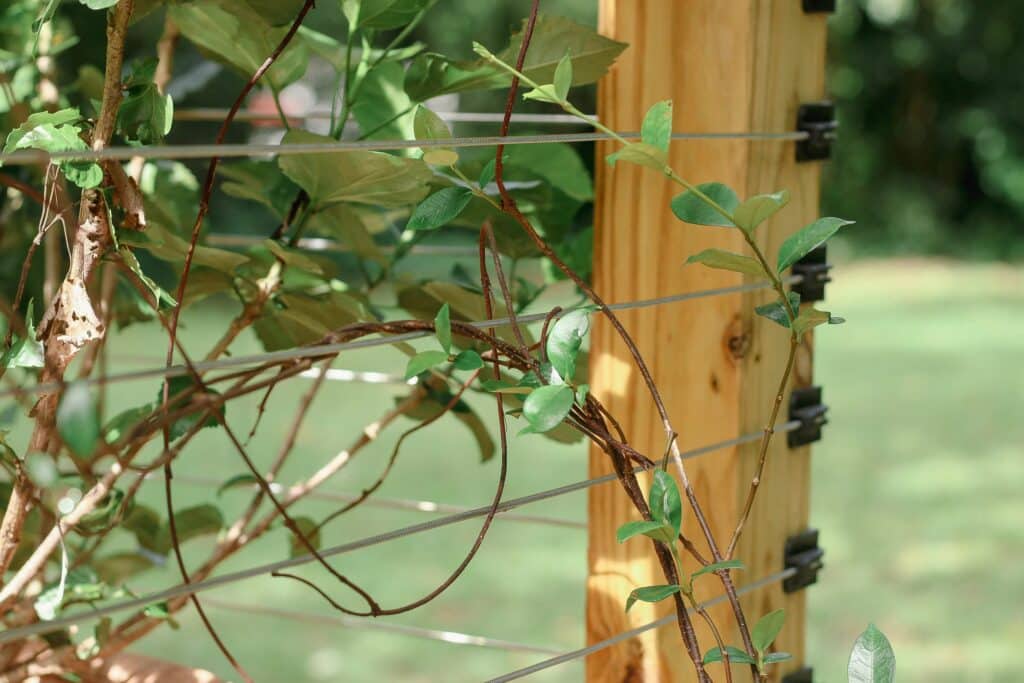
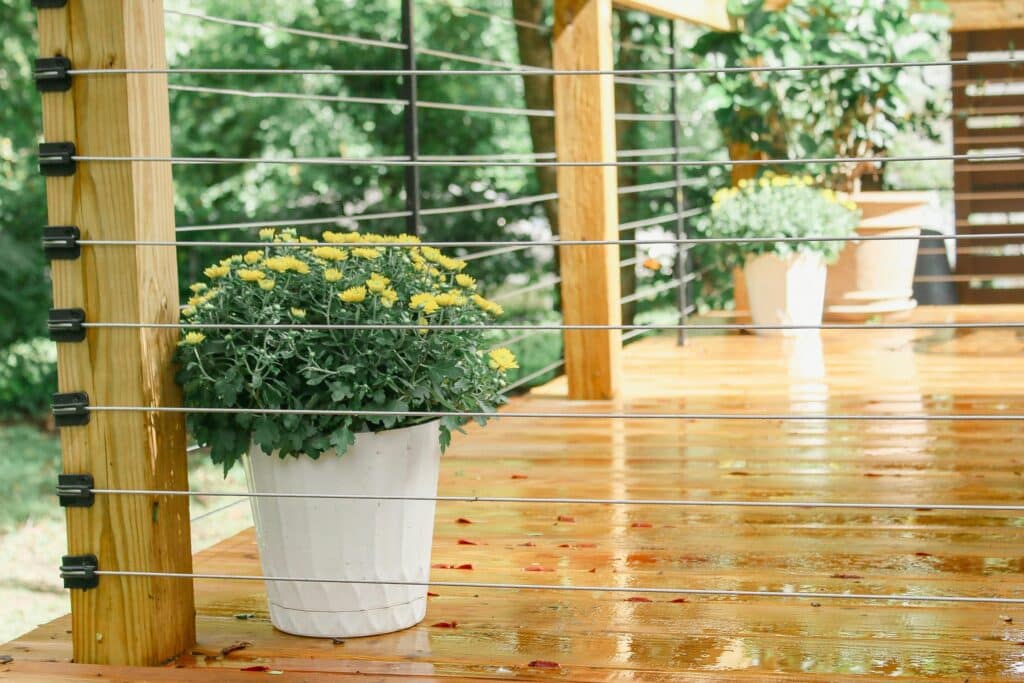
Bailey incorporated the RailFX Express Mount Bracket® system to expand the view of the spacious backyard, fully embracing the mid-century modern aesthetic. Further, the double-height railing allows for a unique approach to embracing the outdoors. Add in some new landscaping, and this backyard upgrade is one for the books.
The RailFX Express Mount Bracket® system makes expanding your view fast and easy! With a few simple tools and the universal drilling template, you can take your railing from drab to fab over a weekend. For DIYers and contractors, it’s an affordable way to embrace a modern aesthetic. The brackets are simple to install on your existing posts and work for both level and angled applications.
Check out the project planning tool to get everything you need to bring RailFX Express Mount Bracket® to your own deck or patio.
A deck or patio is the perfect place for you to enjoy the great outdoors. Open views and space to entertain make them an ideal addition to your home.
Elevating your outdoor space might feel like a dream, but we’ve got your back!
The RailFX Oasis™ Railing System offers a seamless solution to transform any space into a serene and stylish sanctuary. We’ll walk you through the process of selecting, designing, and installing your RailFX Oasis™ Railing System to ensure your outdoor space becomes the oasis you’ve always wanted.
Understanding the RailFX Oasis™ Railing System
The RailFX Oasis™ Railing System is designed with simplicity and durability in mind. Made from extruded aluminum in a textured black finish, it promises longevity without the risk of rust, meeting, and exceeding IRC requirements. Its design options are flexible, offering both picket and horizontal cable infill options that add elegance to any outdoor setting.
Key Features:
Post Size: 3″
Post Spacing: Up to 8′
Infill Options: Picket, Horizontal Cable
Finish: Textured Black
Warranty: Limited Lifetime
Designing Your Outdoor Oasis
Choose Your View
Railing infill is not just a part of design; it’s a critical feature that combines aesthetics, safety, and code compliance. It serves as the “filler” material between the handrail and the deck or floor, ensuring that spaces are safely enclosed without compromising on visual appeal.
Your choice of infill material significantly affects the overall look and functionality of a railing system. For this reason, it’s an essential consideration for architects, builders, and homeowners alike. When choosing between cable or picket infill, you should first decide your aesthetic preference and your functional needs.
Cable infill offers a modern deck railing look with unobstructed views, ideal for showing off gorgeous landscapes or gardens. Stainless steel cables require minimal maintenance and provide a sleek, mixed material look. They’re perfect for contemporary settings where preserving sightlines is crucial, as cables seem to “disappear” from view.
Picket infill provides a more traditional appearance, where the pickets match the post and rails. The textured black finish used throughout the picket railing system can provide greater contrast against the deck boards and scenery.
Deciding on Railing Height
RailFX® offers two standard railing heights: 36 inches and 42 inches. Height typically depends on local building codes for safety and personal preference for visibility. Generally, residential railings should be 36 inches high for decks and balconies. Commercial railings—and residential railings in the state of California— require a minimum railing height of 42 inches.
Selecting Top Rail Lengths
Top rails are available in 6-foot lengths for picket railing systems and 8-foot lengths for both picket and cable railing systems. This choice should be guided by the overall design layout of your deck or balcony to ensure consistency and structural integrity.
Rails are designed to be cut down to the exact size you need. Since you can’t extend a rail that’s too short to span the gap, you should ensure your rail kit is slightly longer than the space between your posts.
Installation Essentials
Installing your RailFX Oasis™ Railing System is straightforward with the right tools and preparation. Here’s what you’ll need:
Post Drilling Template: Simplifies installation by providing precise pre-drill positioning for brackets and by centering the bottom rail bracket on post when installing screws.
Touch-Up Paint: Keeps your railing looking new by easily covering any scratches or dings incurred during installation or use.
Instruction Guide: As always, it’s important to follow instructions closely during installation to maintain warranty coverage and ensure safety compliance. We advise reading written instructions prior to beginning installation.
Resources & Inspiration
RailFX® provides valuable resources to help you in your project planning, from sparking ideas for designing your outdoor oasis to ensuring proper installation techniques are followed. View our resources to learn more:
Transforming your outdoor space into an oasis is within reach with the RailFX Oasis™ Railing System. By understanding its features, carefully planning your design, and following detailed installation guidelines, you can achieve an elegant, durable outdoor living area that will bring joy for years to come.
Whether you’re enjoying quiet mornings alone or entertaining guests under the stars, your RailFX Oasis™ equipped space will undoubtedly become your favorite retreat.
To design your dream railing system, connect with a RailFX Oasis™ Railing System dealer to get started!